Echo, VCA, Quantiser
14 Nov 2021
A few more Eurorack modules completed. At this point it's possible to get some pretty cool sounding melodies and sounds from the system.
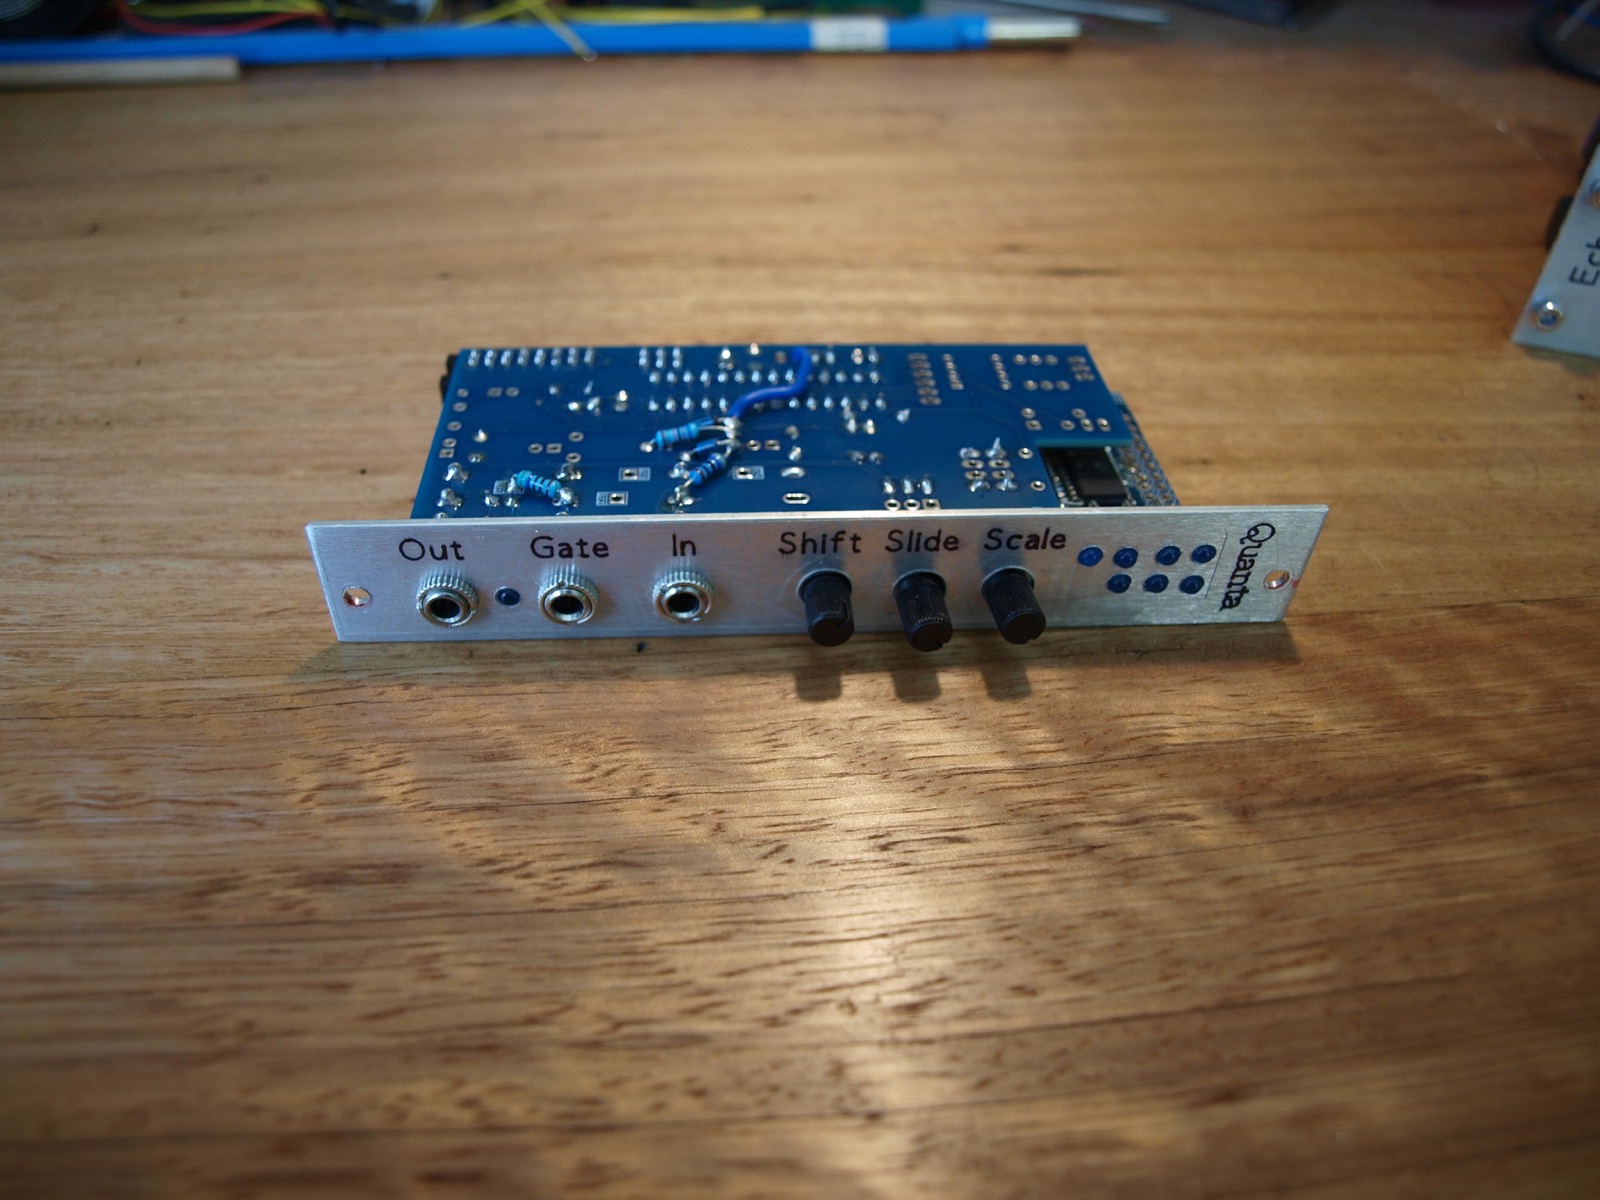
All of the labels on these three modules were done on vinyl stick paper, with a Cricut machine doing the lettering and cutting all the holes. Works well now that I'm getting the hang of it (and remember to let the ink dry for a good 24 hours before trying to apply...)
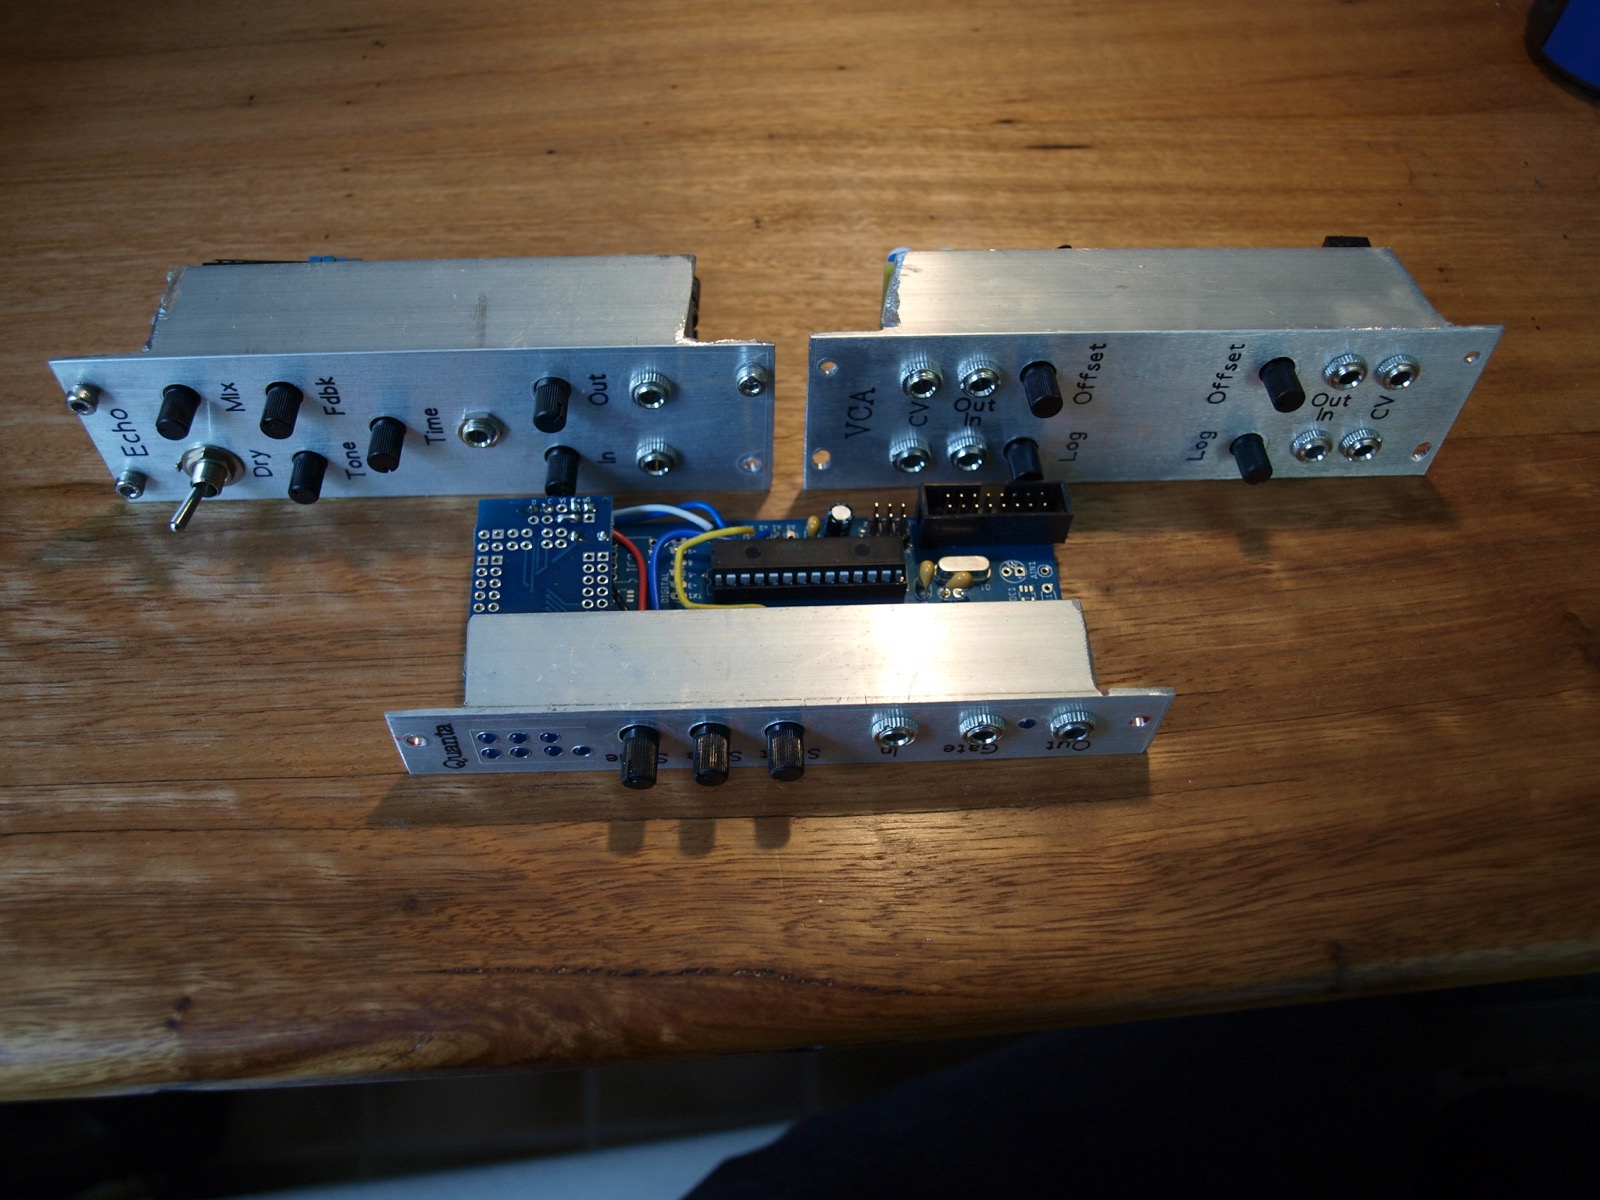
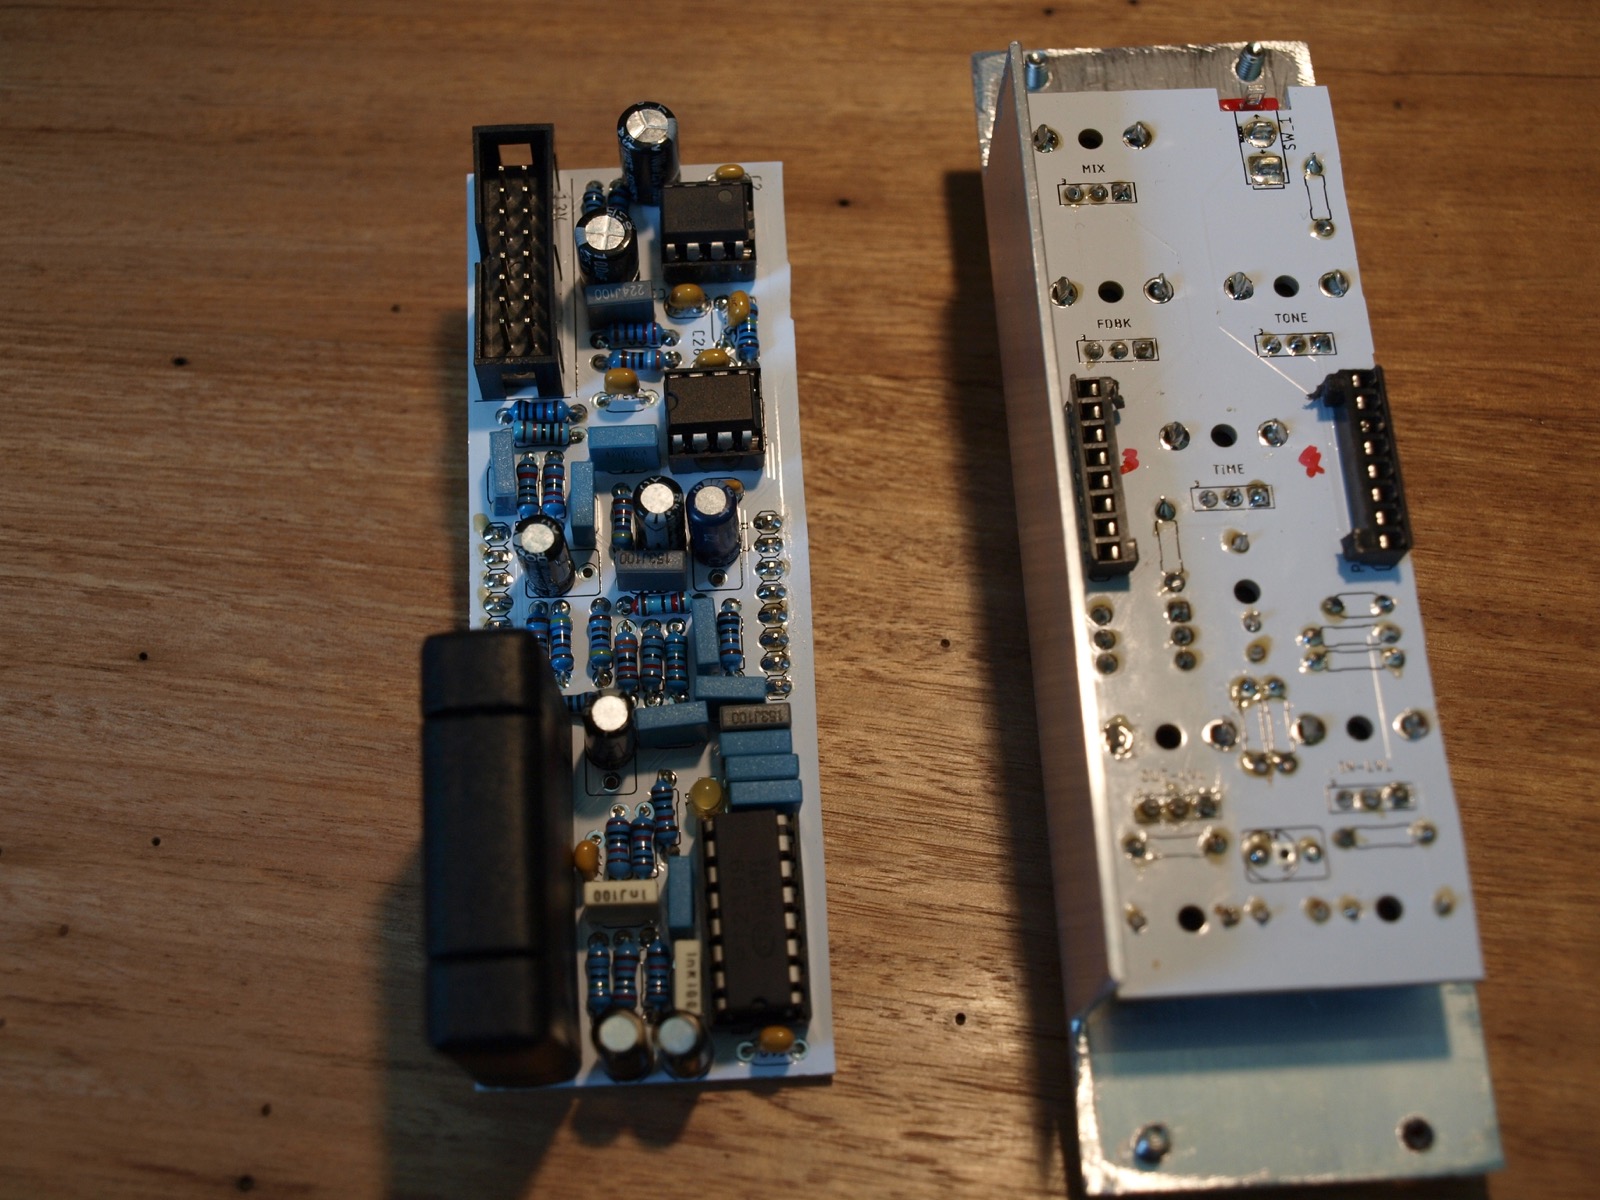
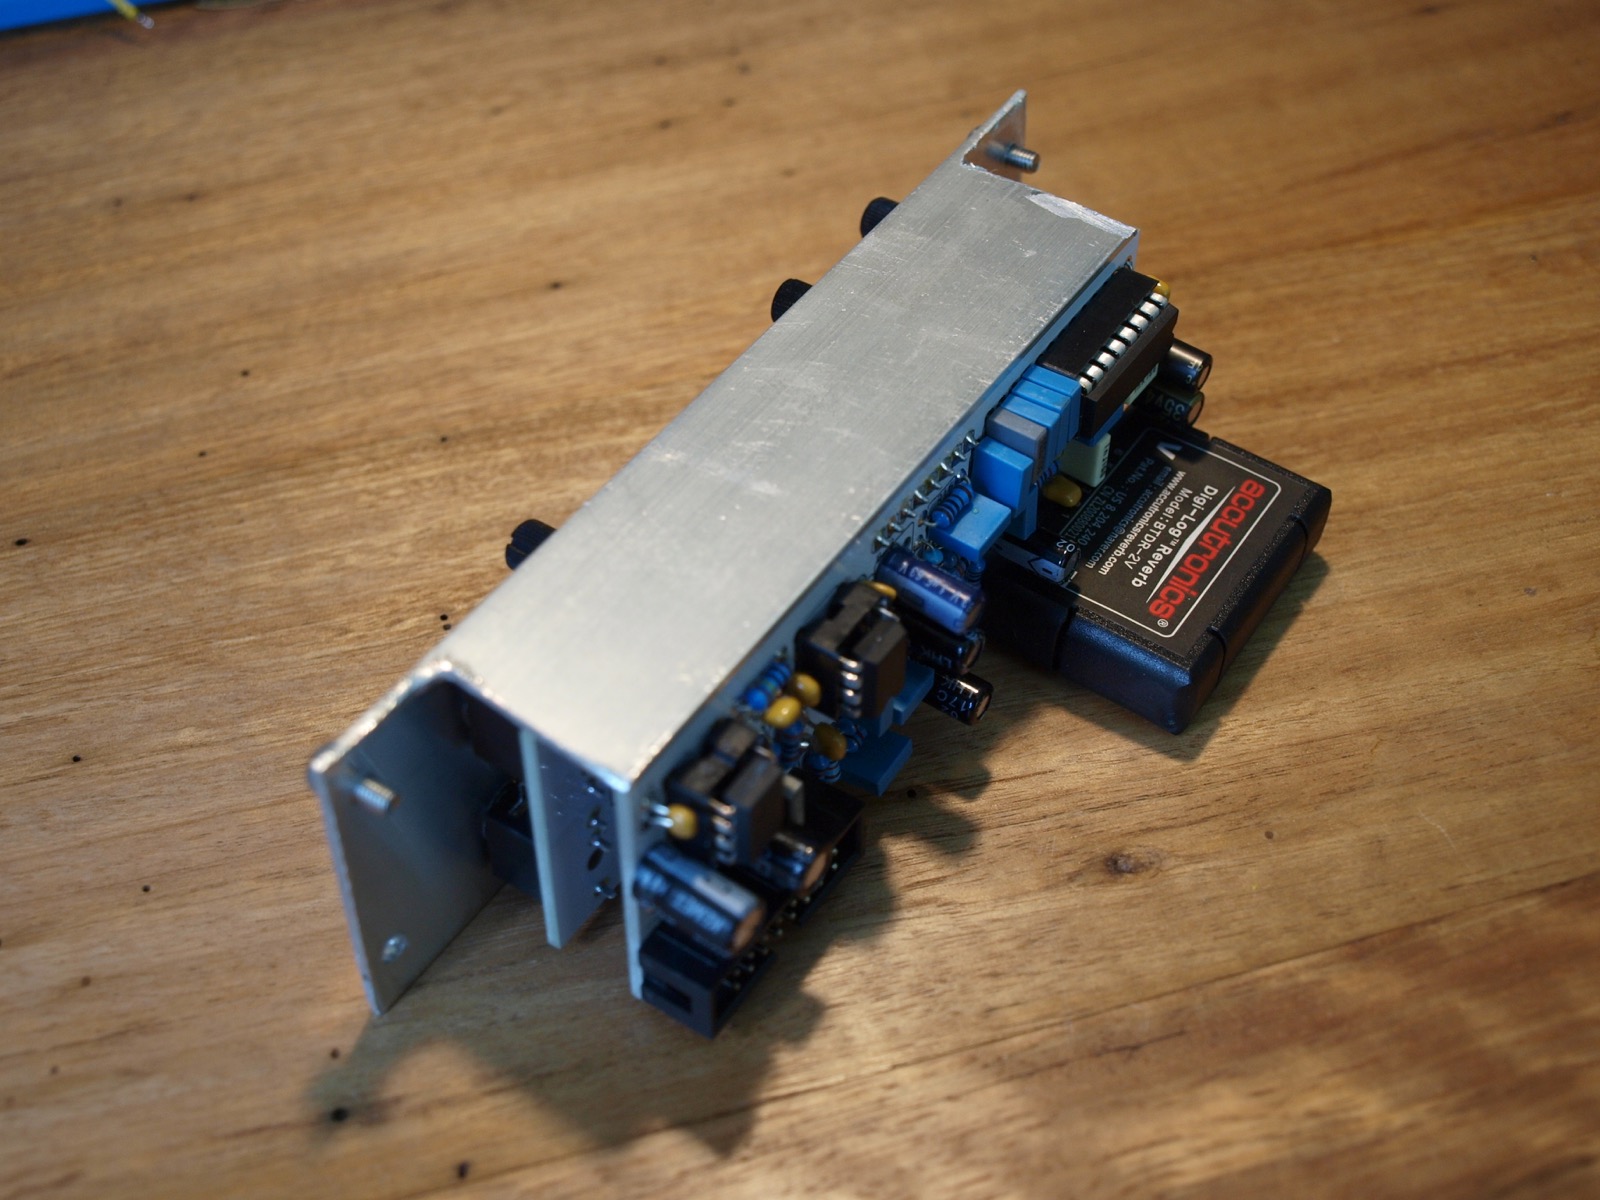
Echo (delay and reverb) module
This is a PT2399 echo chip for some initial delay, followed by a Belton brick for reverb. I put input and output attenuators, as the Eurorack signal is a lot higher voltage than the usual guitar signal that I'd use with this schematic. It also means that I can use the output of this module straight into headphones, as it drops the level nicely.
I've also included controls for mixing the reverb to dry levels, tone, feedback for the delay, and a dry kill switch. The delay time is controlled and also has a CV input, so you can get some strange delay ramping if you plug in an LFO, or an envelope that is triggered by the incoming notes.
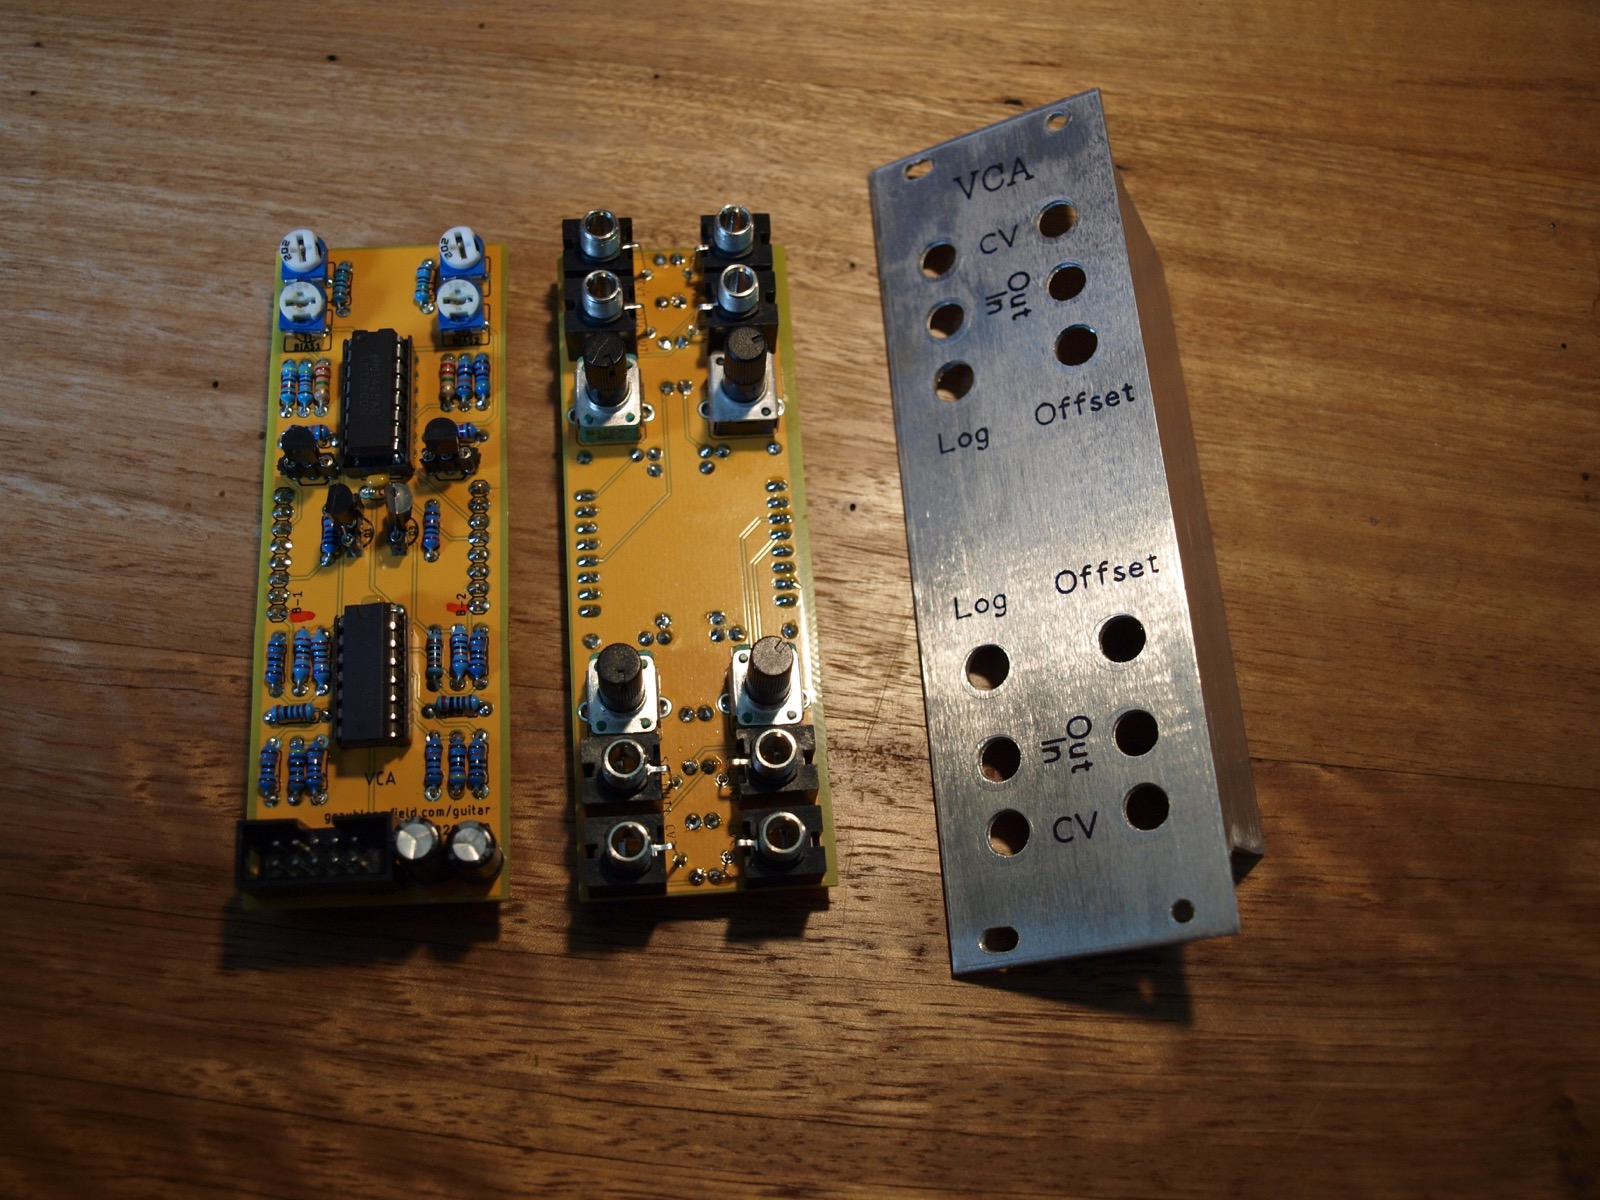
VCA
This is a dual VCA based on a few circuits from MFOS. Panel mounted offset control, and two CV inputs per VCA. There is also a bias and trim control on the back, but they didn't seem to do a lot, so I think I'd leave them off in future builds. No doubt I'll be making a few more of these, as VCAs are useful to have.
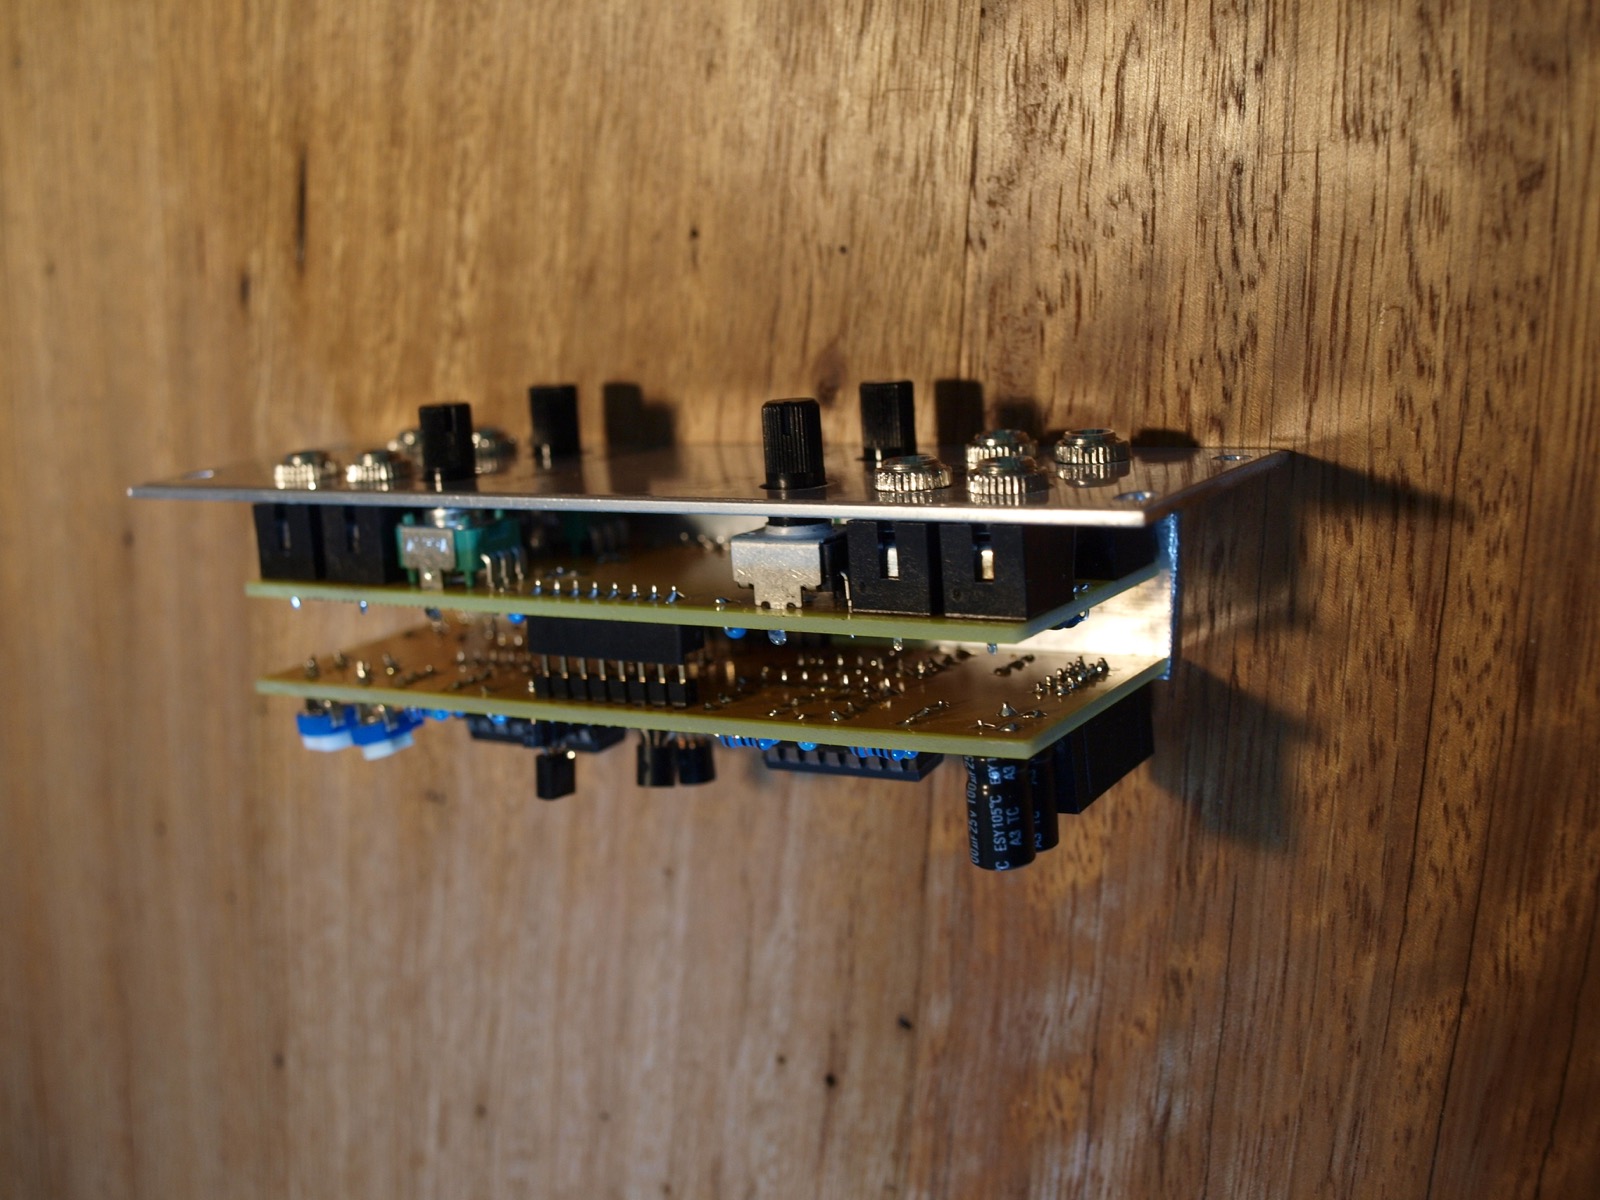
I was really happy with the layout of this one - having two identical circuits made it easy to do a really satisfying layout that has components mirrored really nicely. Made building a breeze.
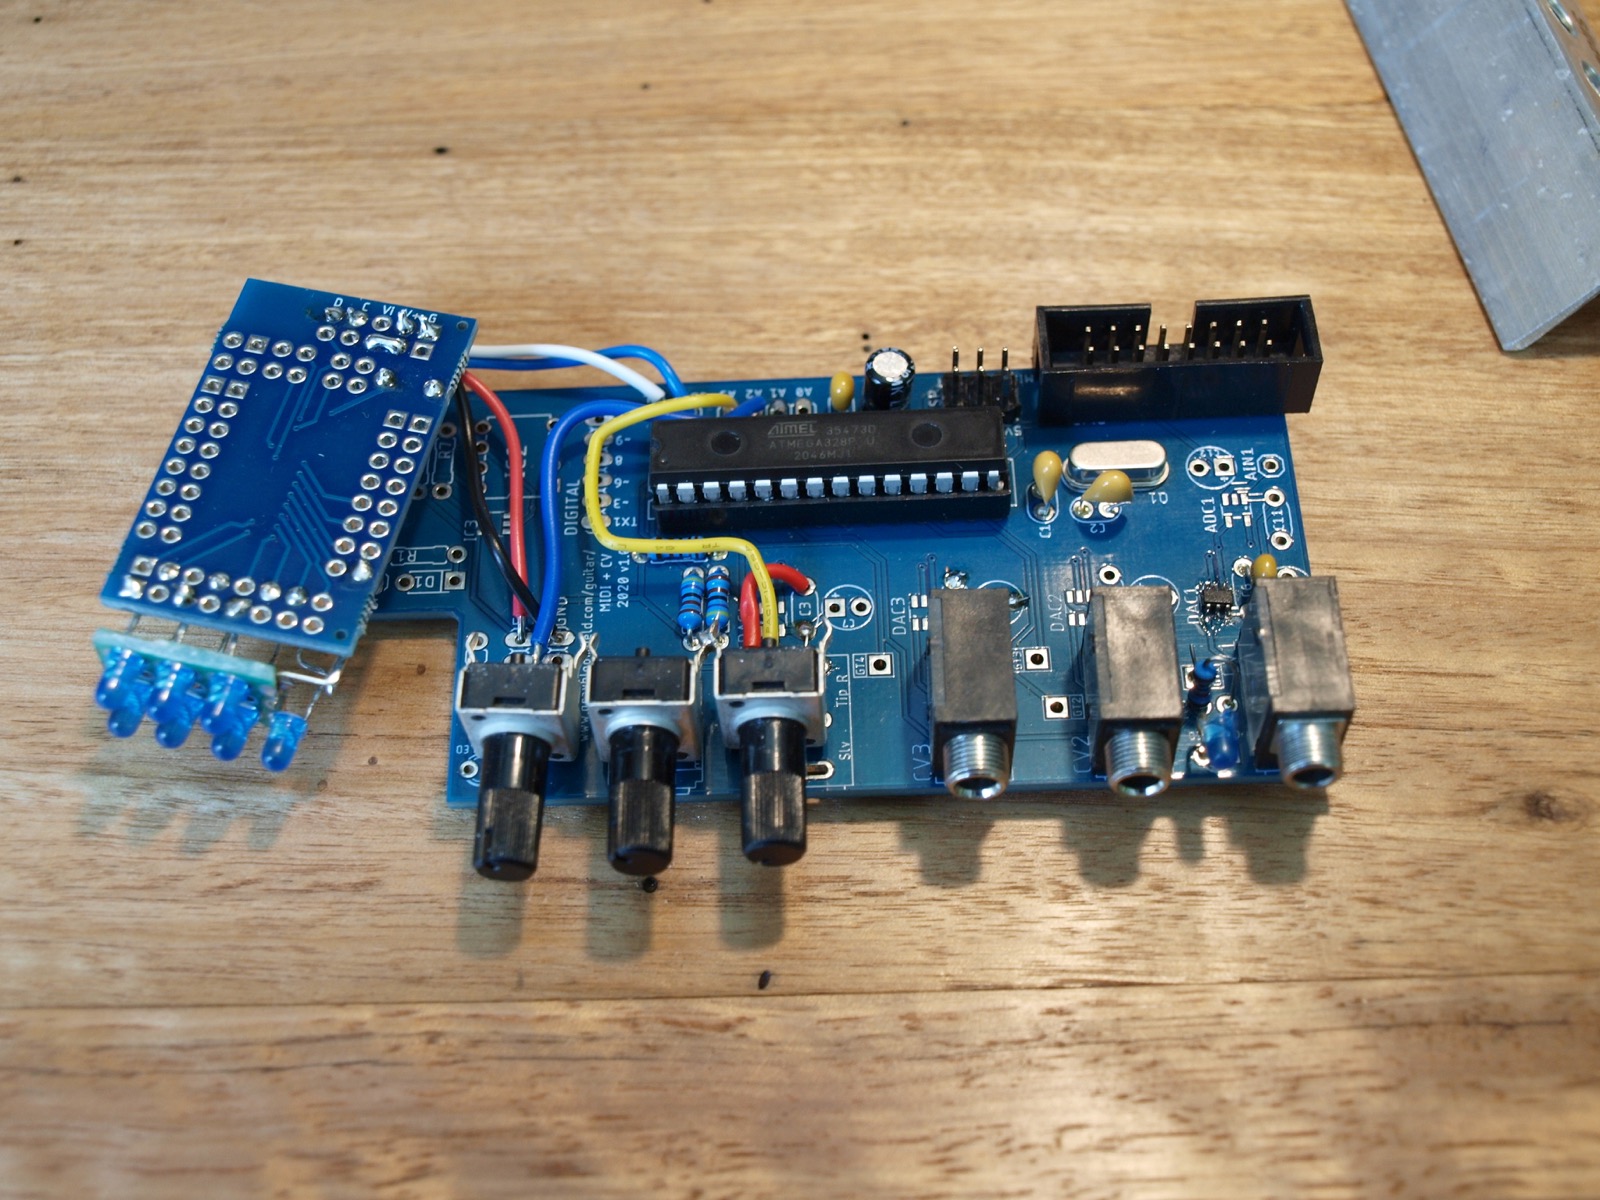
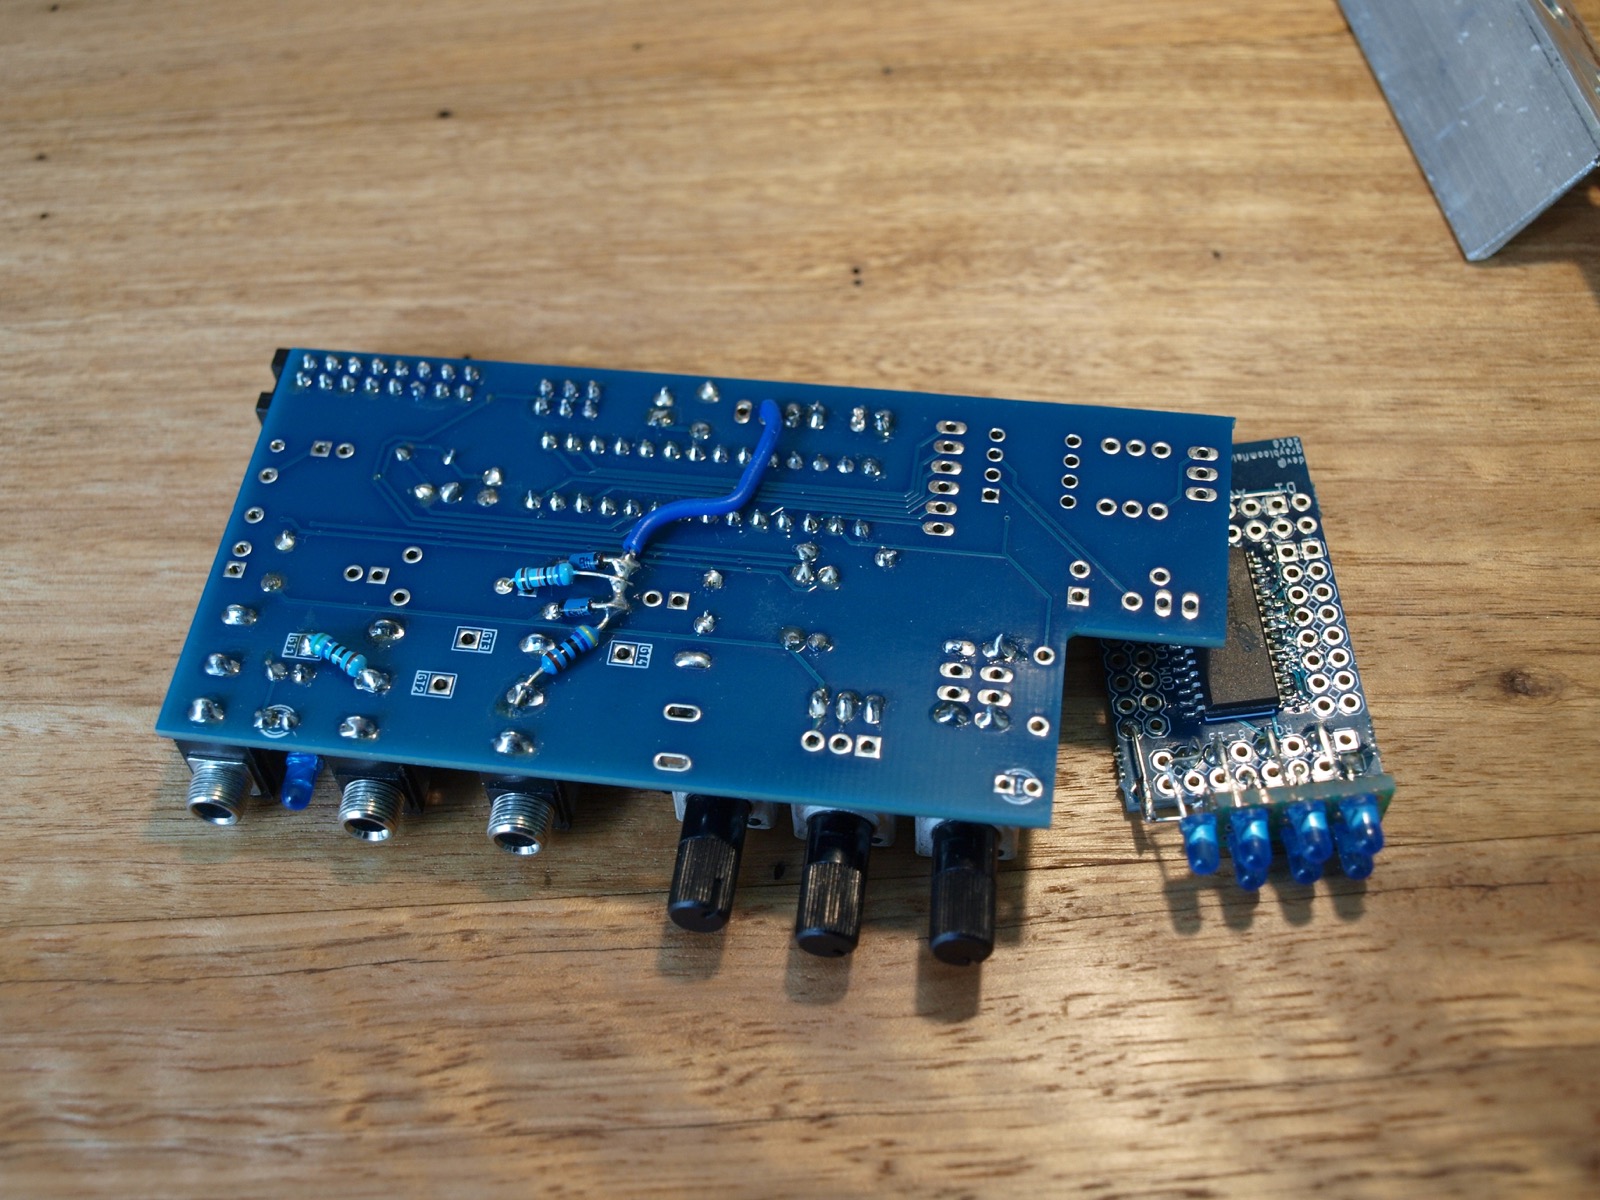
Quantiser
For this one I've reused my MIDI to CV board again. It's a handy layout for anything that uses an Arduino and a DAC chip, with a few jacks and pots.
This module takes voltage input, and then maps it to voltage values that correspond to a major, minor or other scale. I've ended up with 7 scale settings, with a Holtek chip controlling 7 LEDs so I can tell which setting is in use. Also have control for a slide time between notes, and a shift to change the root note of the output - an easy way to change the key of the output notes.
Pairing this with my 10 step sequencer is a great way to get really nice sounding melodies.
The code started out as something from this site, but I ended up making a bunch of changes - they had the scales labelled and calculated in a bit of an odd way, and I wasn't really sold on the usefulness of the slide switch, when I could do the same with a pot. Adding the shift pot was another addition that I came up with. Overall, it was a good starting point to give me some ideas, and I was able to rewrite it to do what I needed.
Drill templates
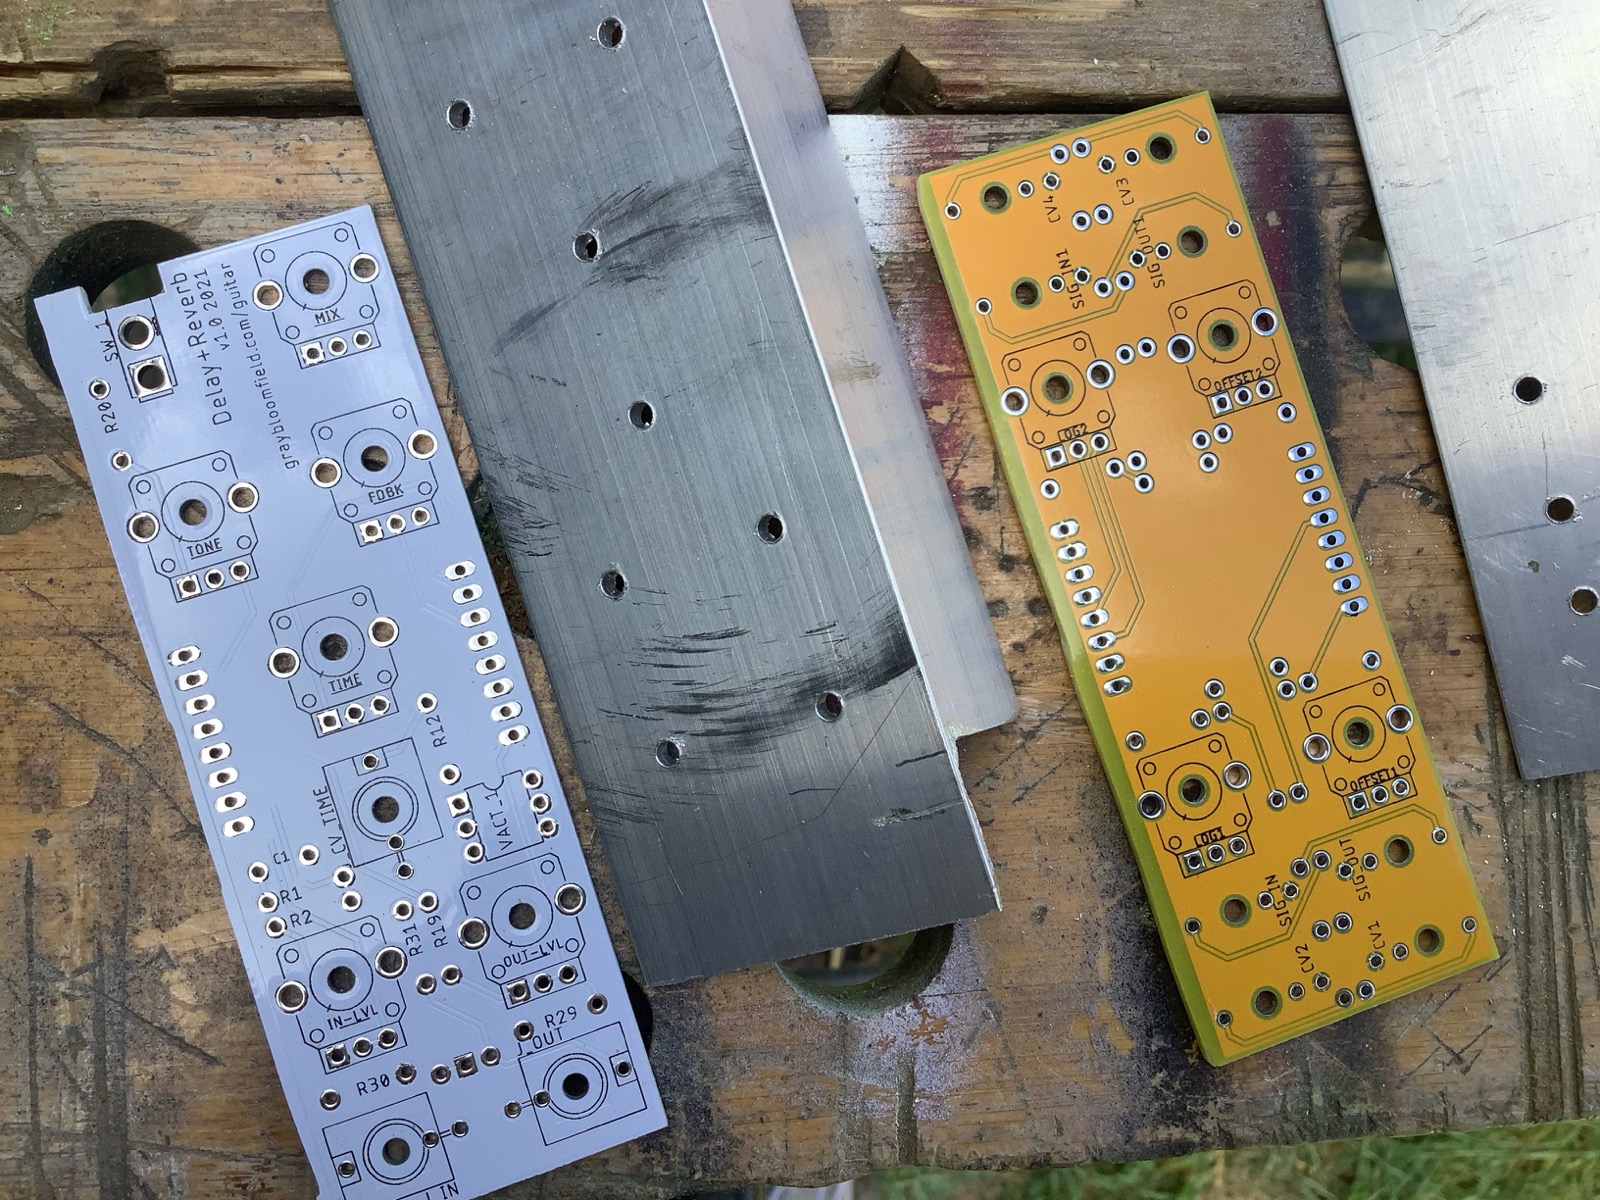
For the new boards that I got manufactured this time, I had an idea to test out. I'm always getting more boards than I can use (and with postage costs these days, it's not worth me trying to sell the leftovers). I also struggle with drilling the holes of the face plate accurately. I've been using paper templates, but they tend to rip or scrunch up when drilling, and the holes end up not lining up properly.
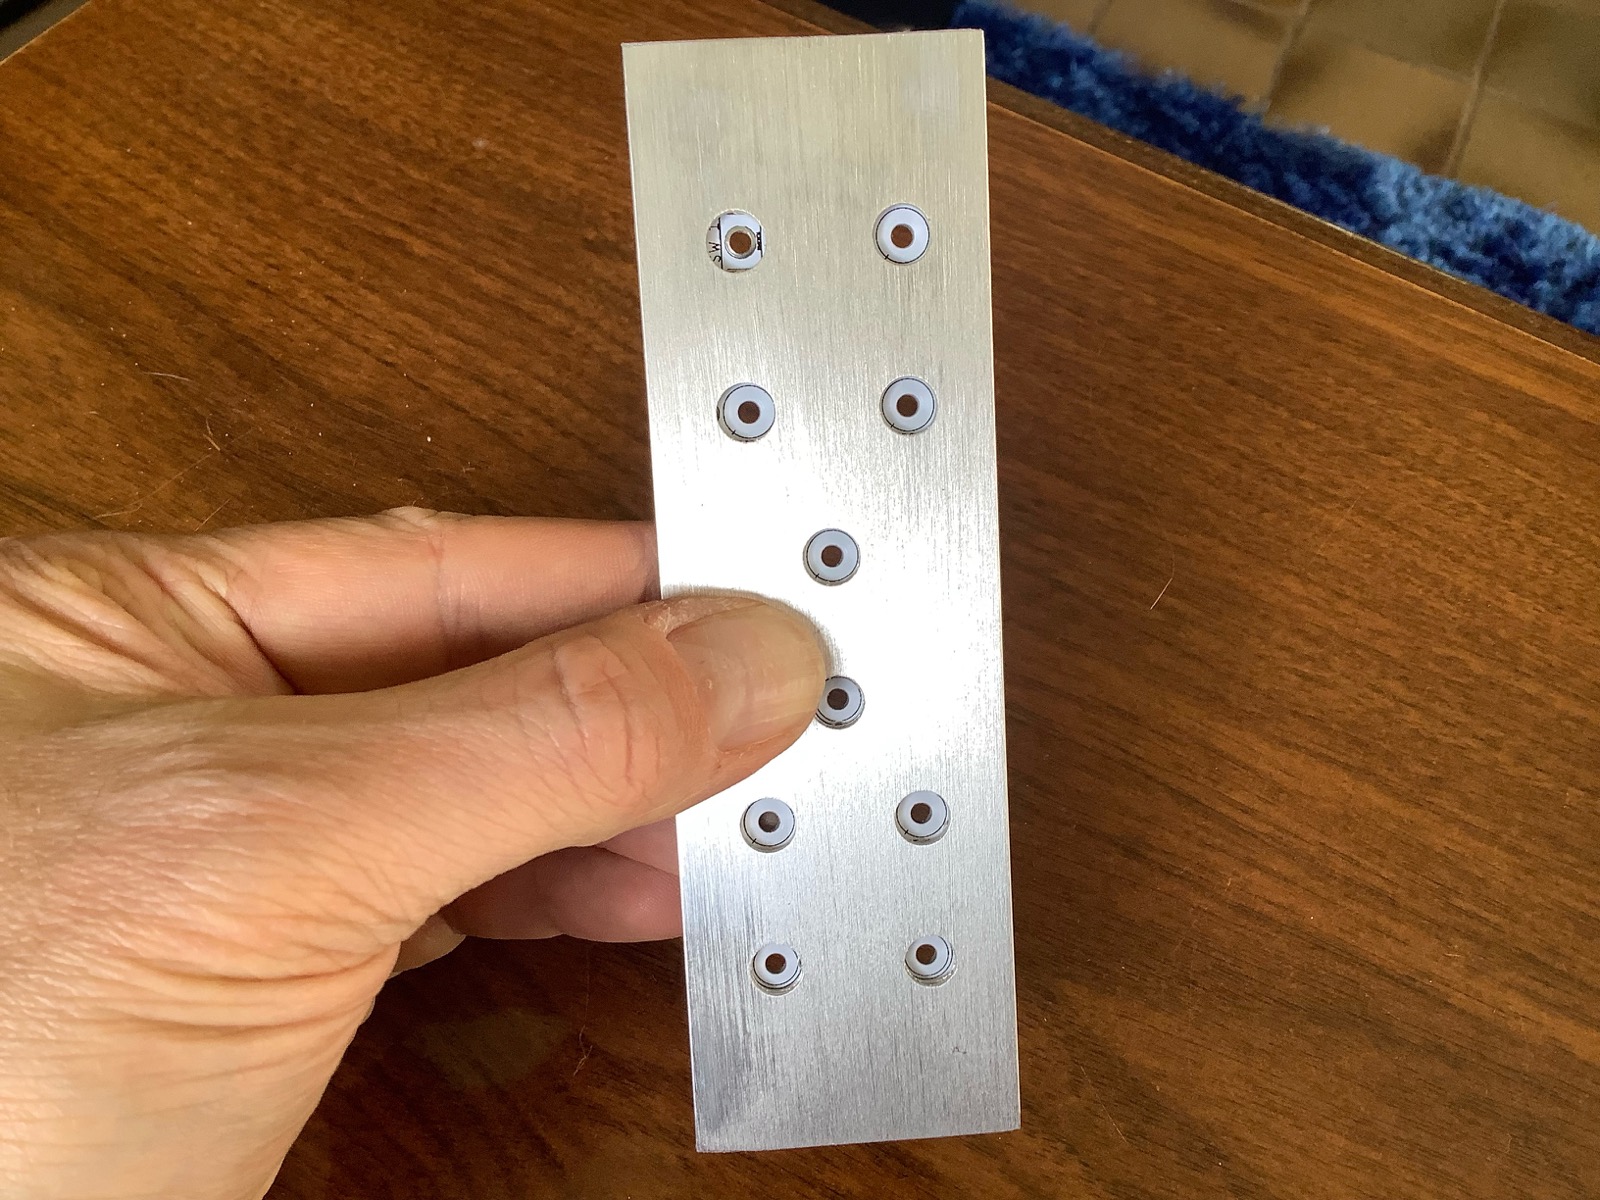
For these boards, I put a 2.5mm hole dead center underneath every pot and switch and jack. When the boards arrived, I just grabbed one of the many spares and taped it to the metal to drill, and used the holes on the board as pilot holes to drill through.
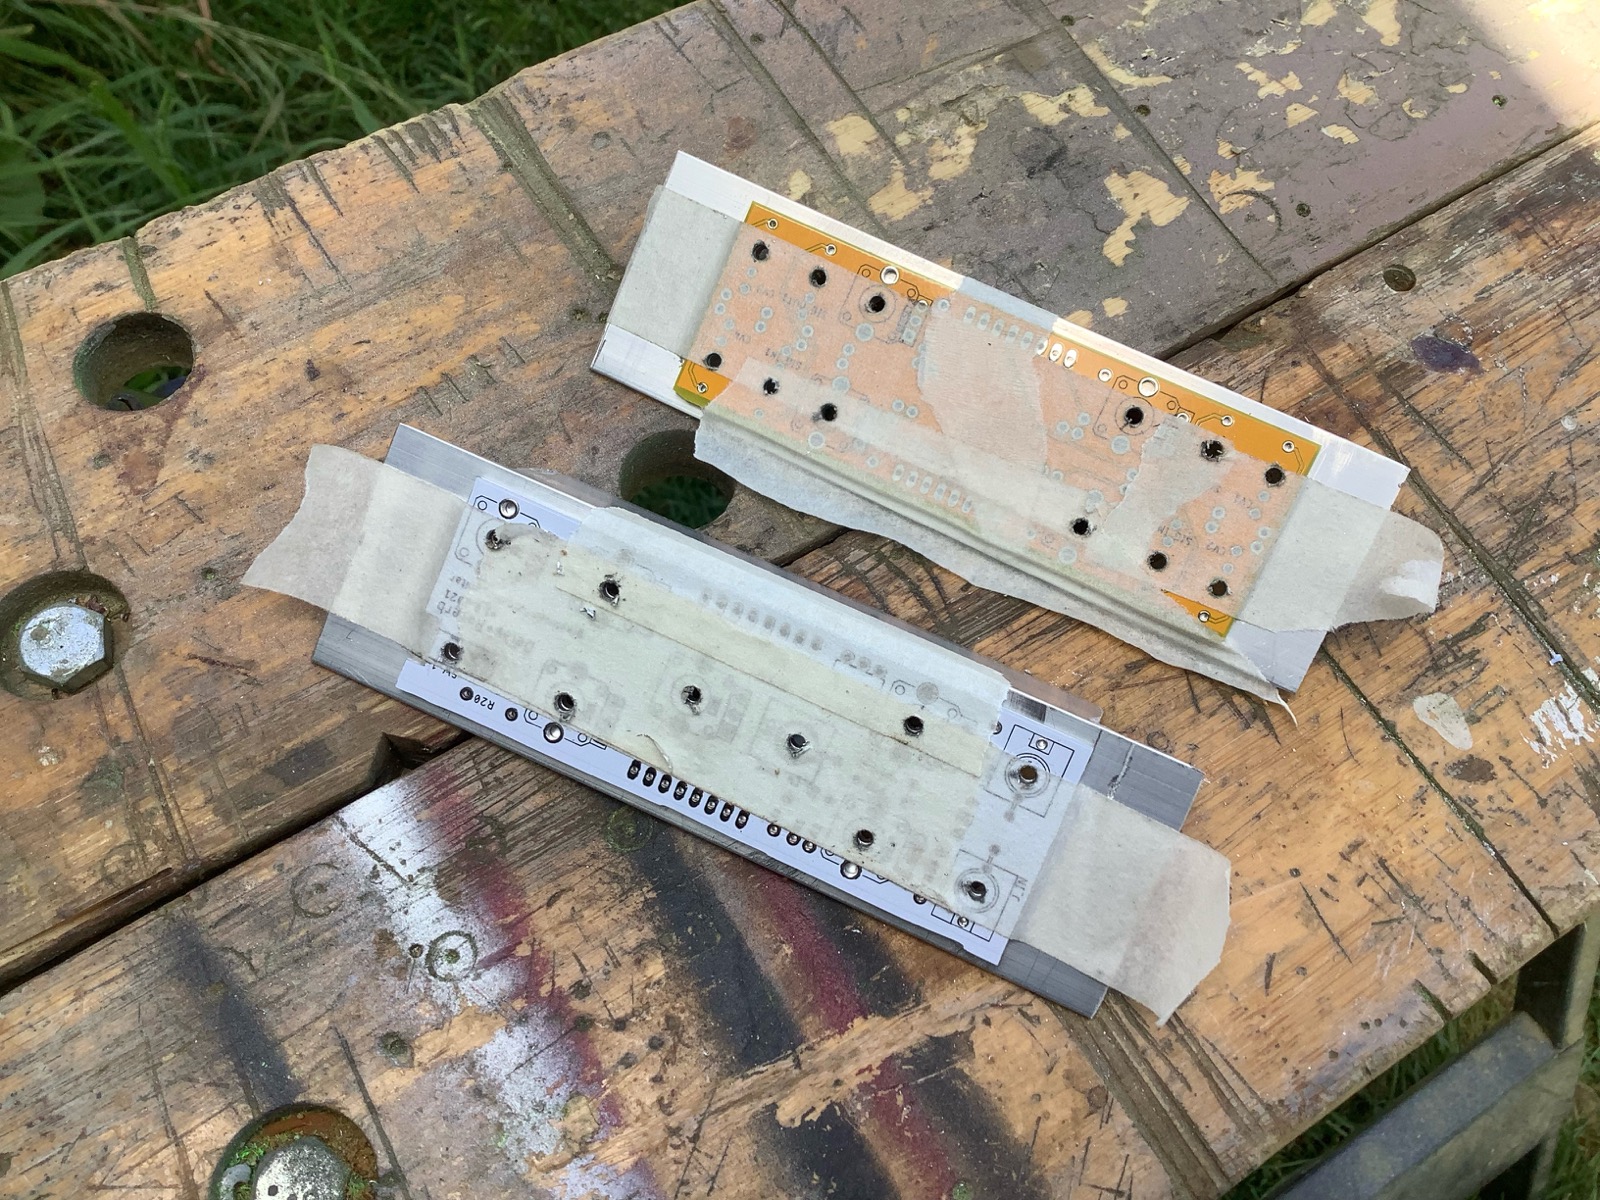
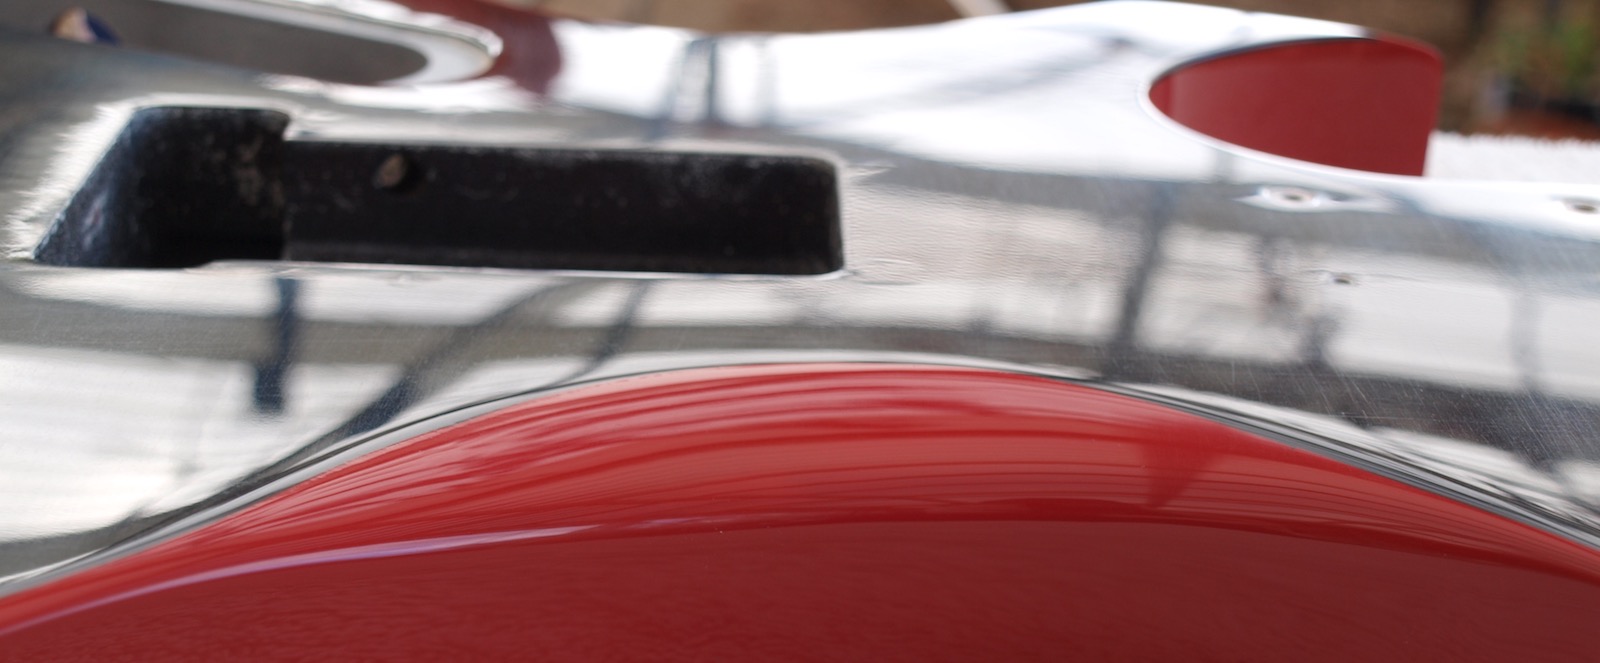
The end result was a really accurate drill template that guided the drill bit perfectly. The holes ended up perfectly in line with the underlying boards. The board that I used as the drill template drill didn't even get damaged, and could be used again or even soldered up (not that I need it... I order the minimum of 5 boards, and they always send me 10 to 12 boards. I have plenty more spares).