Boba Fett helmet build - part 3 - Paint preparation
16 Feb 2020
This build started some time around August 2019, and is wrapping up now in February 2020.
Gap filling
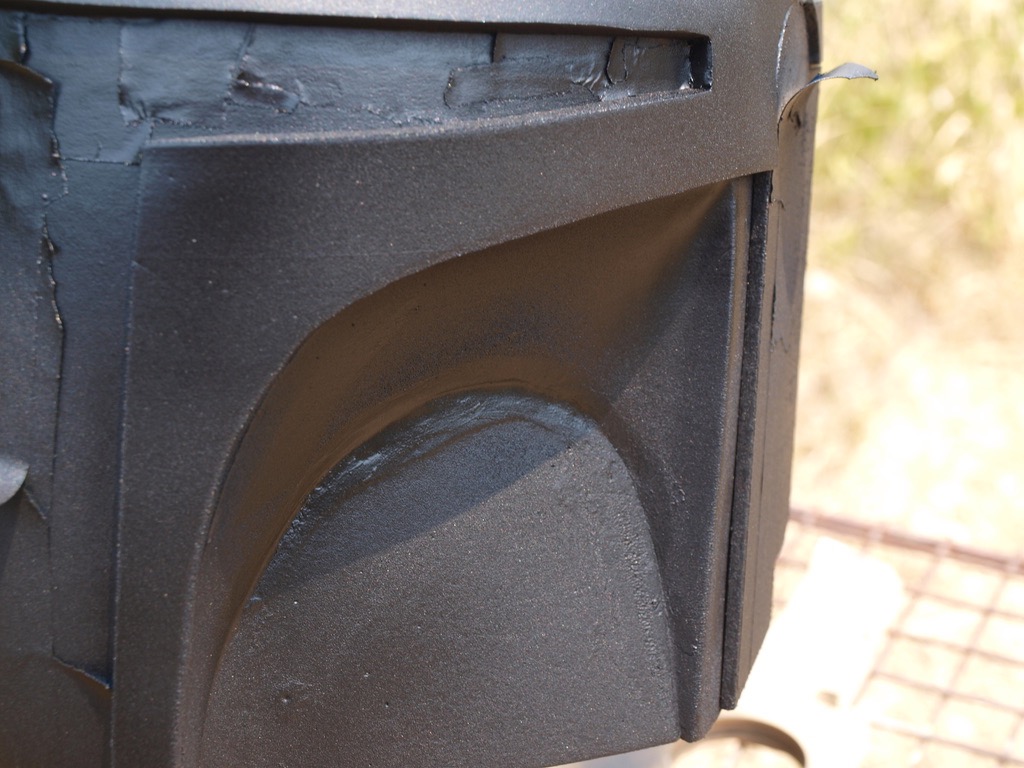
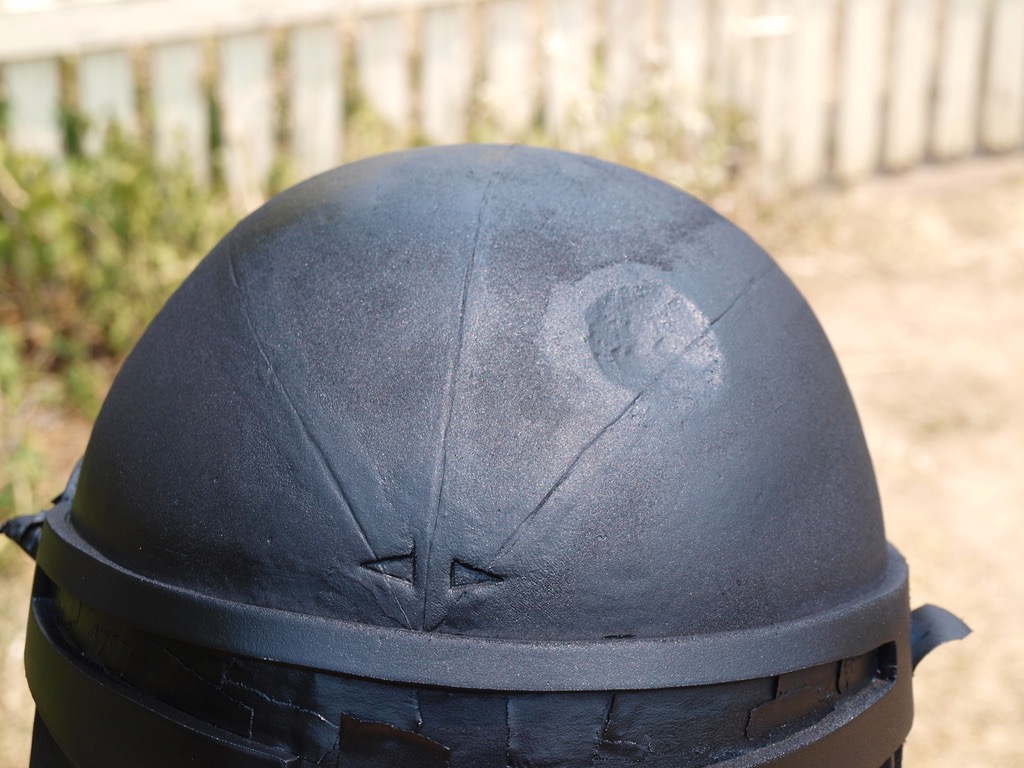
I didn't get a really good join on a lot of the pieces, so I thought I'd try some sandable, flexible silicone to fill in the gaps. I just grabbed a few from the hardware store to try. This turned out to be a reasonable bad idea. They were sandable, but they seemed to just sand away and not fill the gaps, while at the same time they soaked into the foam, and made is swell up around the gaps. The joins on the top of the helmet are still really visible. The filler worked better on the back of the helmet around the vent.

Sealing
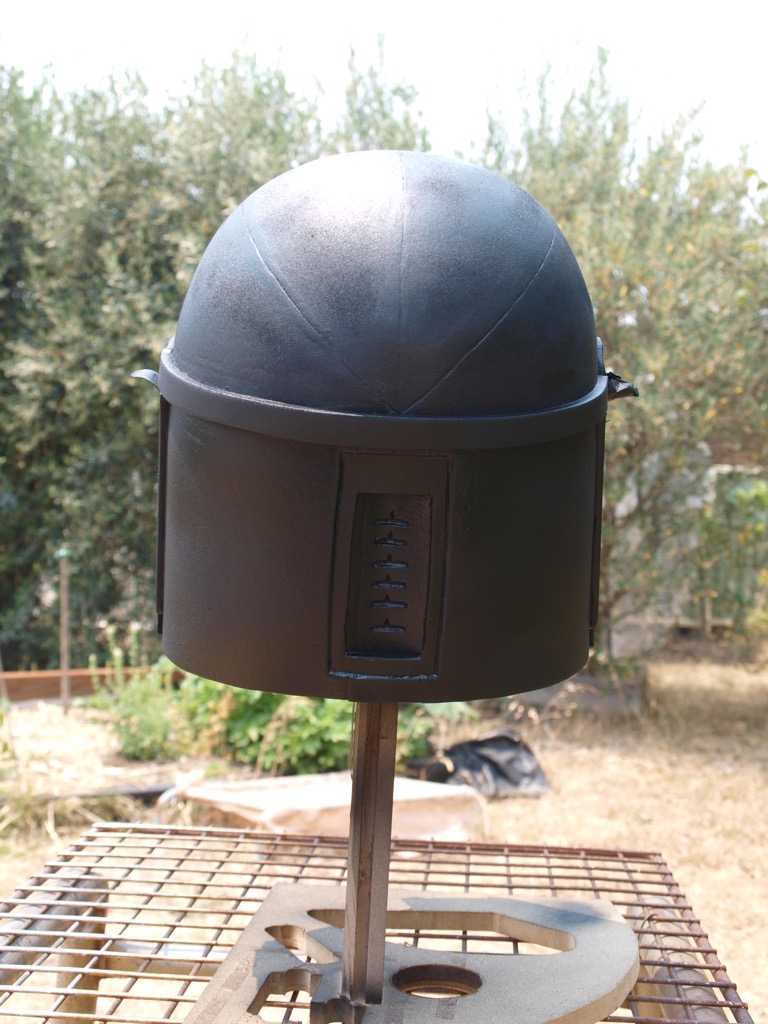
Next was a can of rubberised paint, to seal the foam and give the paint something to stick to. The gaps that I'd tried to fill with the silicone are still visible, and in some cases I think I've made things worse. Lesson learned - should have started with the paint first, to seal things?
Filler/primer
Next came bone-headed move number 2. I thought the rubber paint was a bit too textured, so I put some primer-filler paint on next. It came up lovely and smooth after a sand. Perfect. What I didn't think about was that a filler paint isn't going to work with a flexible surface. Once I put on a few more coats of colour, the filler paint has cracked, and the whole helmet has cracks across the back and top. Lucky it's meant to look damaged. :-/

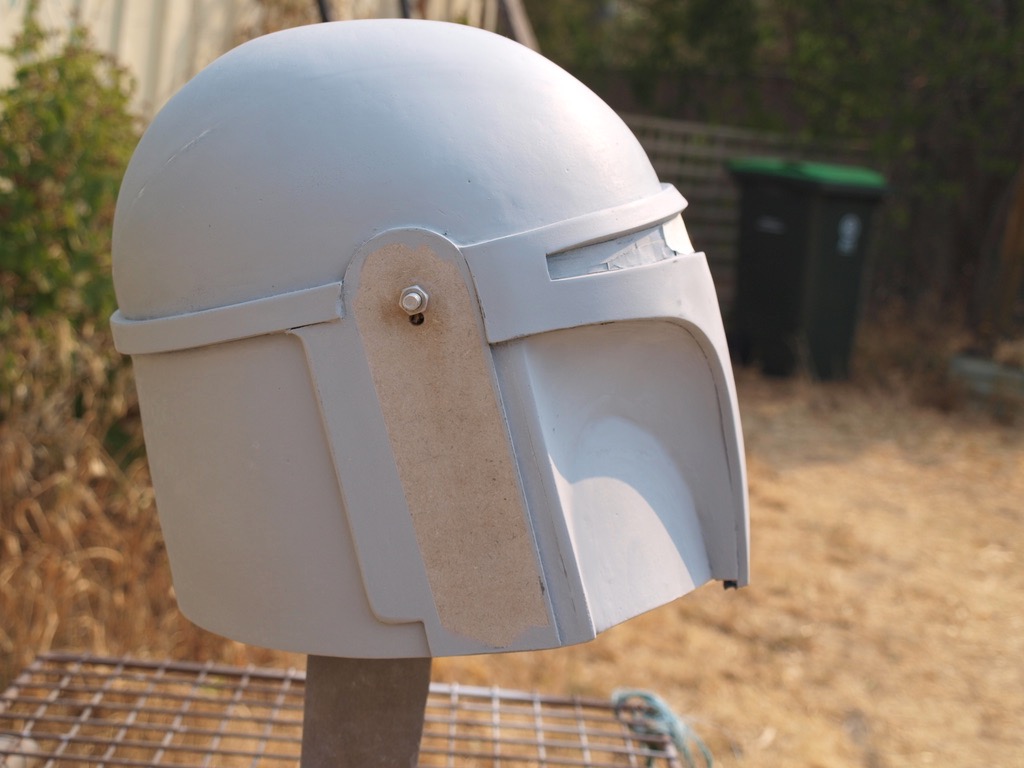
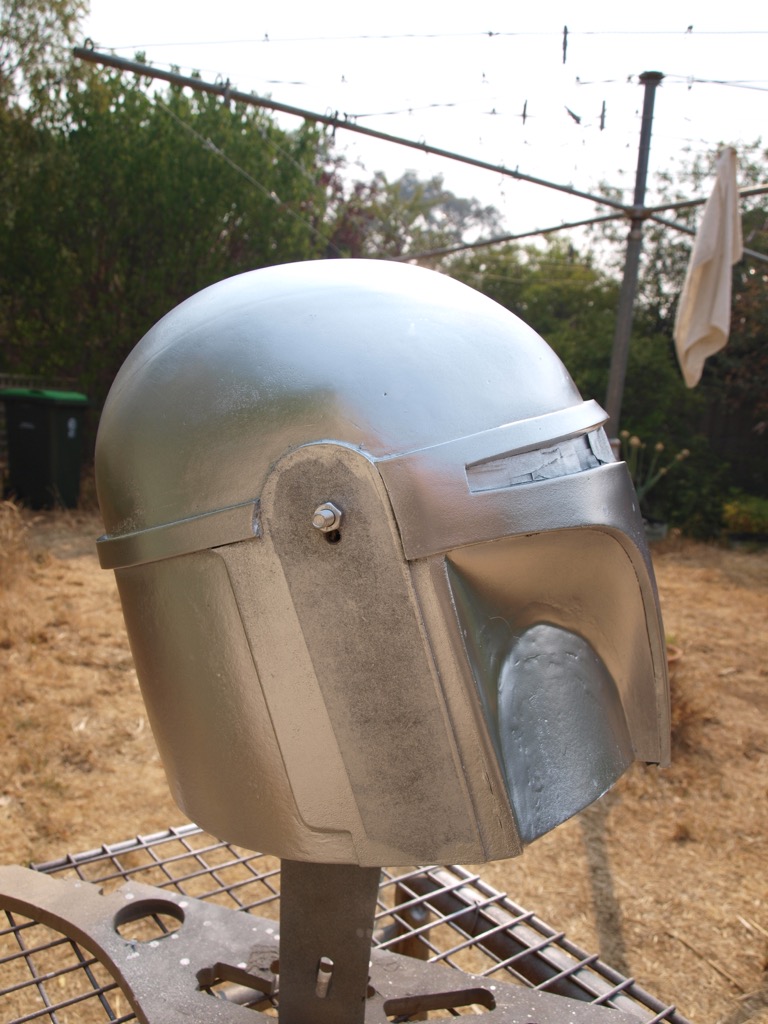
Silver spray coat
The next coat was silver. The idea is that this forms an undercoat, so that any other paint going over the top can be damaged, and it will show this 'metal' underneath.
Having just watched 'The Mandalorian' on tv, at this point it was tempting to call it done.


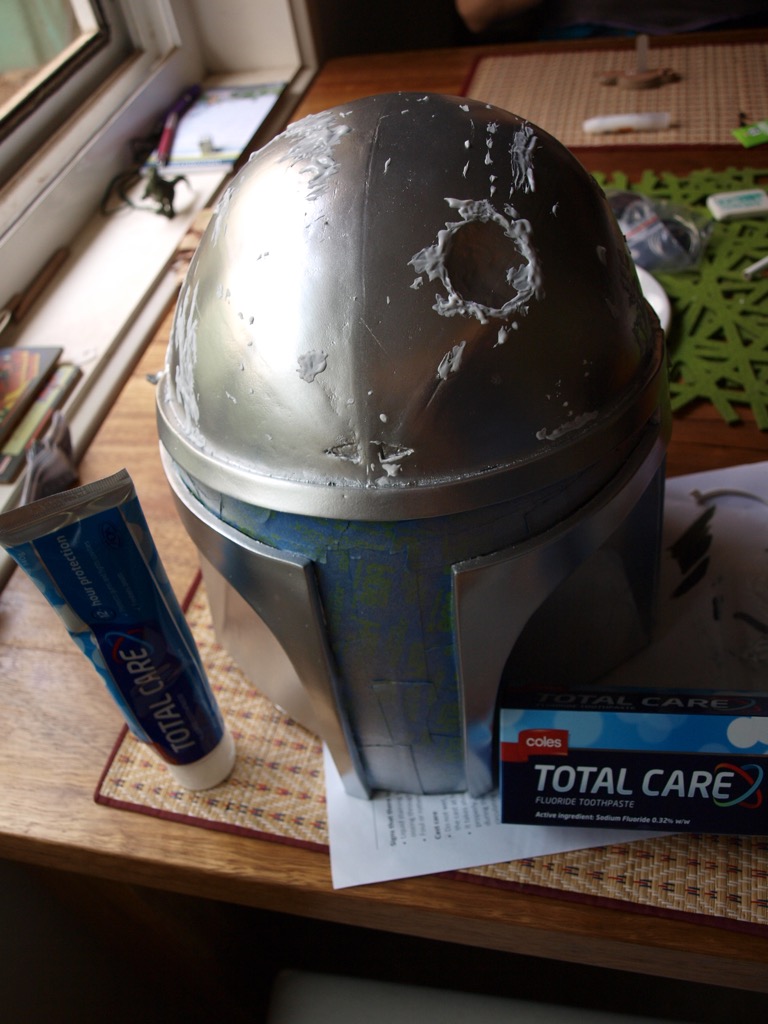
Let's make some damage!
OK, things get a little bit wierd here. The next coat is toothpaste. In case you were wondering, Boba Fett uses Coles brand 'Total Care' toothpaste.
The idea with this is to mask off areas that you want the silver to show through the next paint layers - giving it the appearance that the paint has been damaged, and the metal is showing through from underneath.
First, some toothpaste to mask off the silver - then I painted some dark grey to show through as well, and then put more toothpaste over that.
Not having done this before, I didn't know how long to leave it to dry. Needless to say, I left it too long. I did the first layer one day, another layer the next day, painted on the third day, and then let it dry for another 3 days after that. This was about 5 days too long to leave on the toothpaste...and it was really hard to scrub off!
At this point of the project it was mid to late January 2020. Next up... adding the coloured paints.