Organ project: The insides
13 April 2018
I spent a good 20 minutes scrubbing all the dirt and spider poo off the outside of the organ this afternoon, with a bucket of soapy water. Once that was done, it was time to have a look inside.
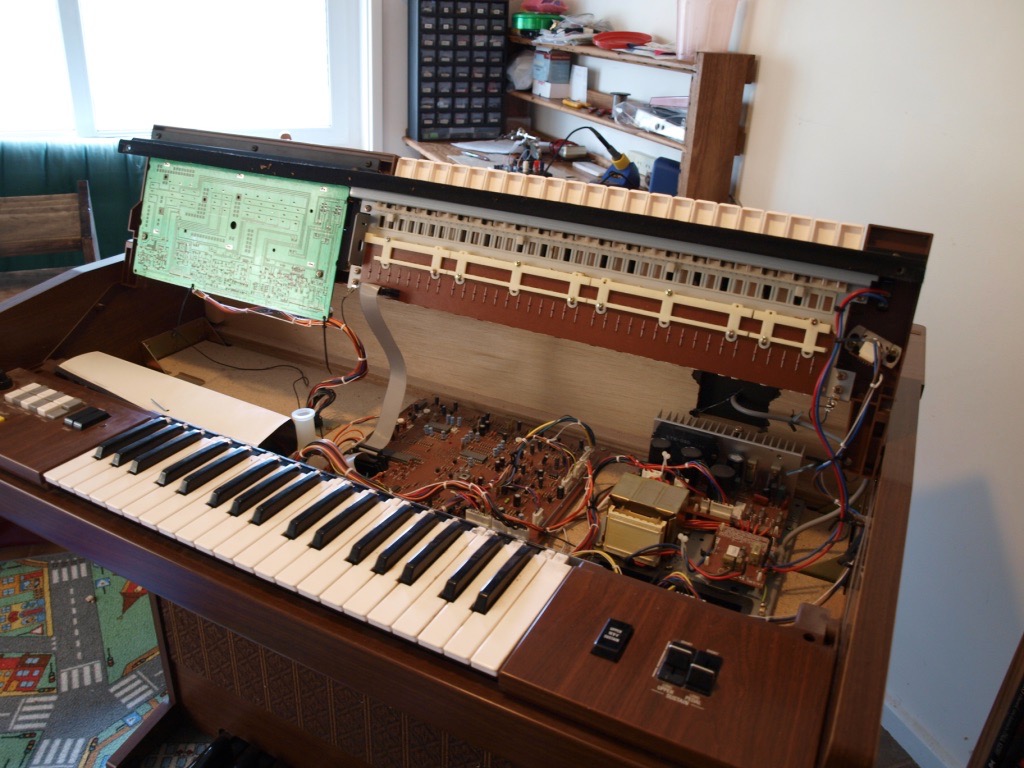
There were only two screws to remove, and the whole top opened up on hinges. Very nice for maintenance. There are three boards visible at this point. One is the power supply, a large one seems to be the main board which produces the sounds, and then a smaller board is connected to the toggle switches at the top.
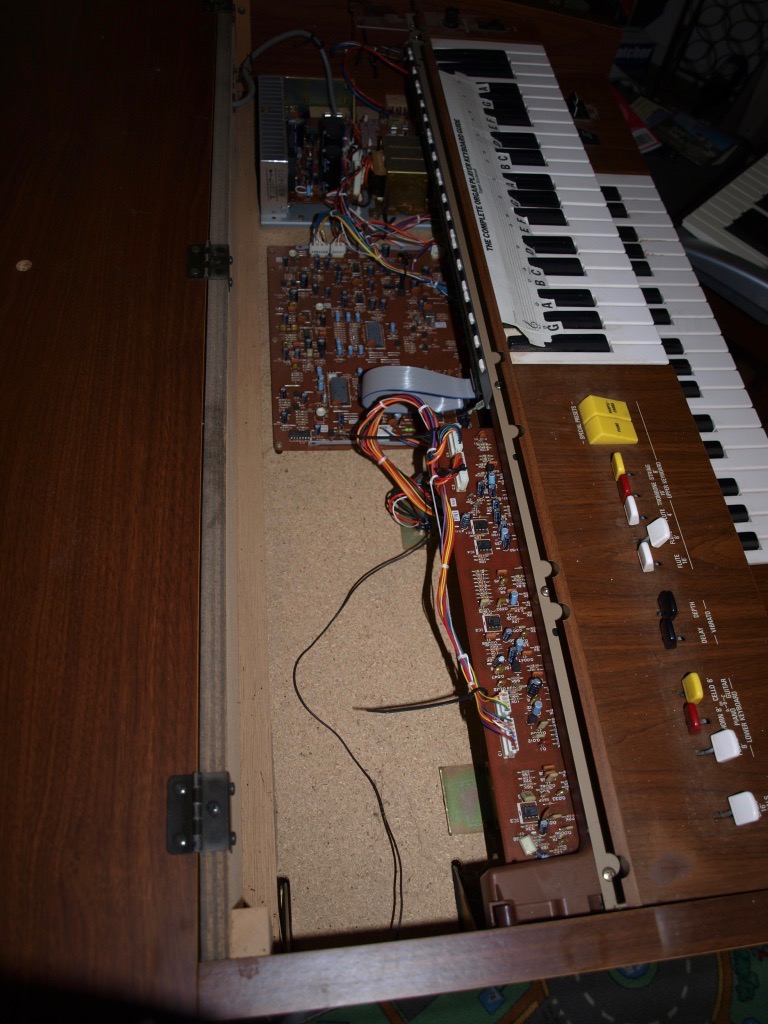
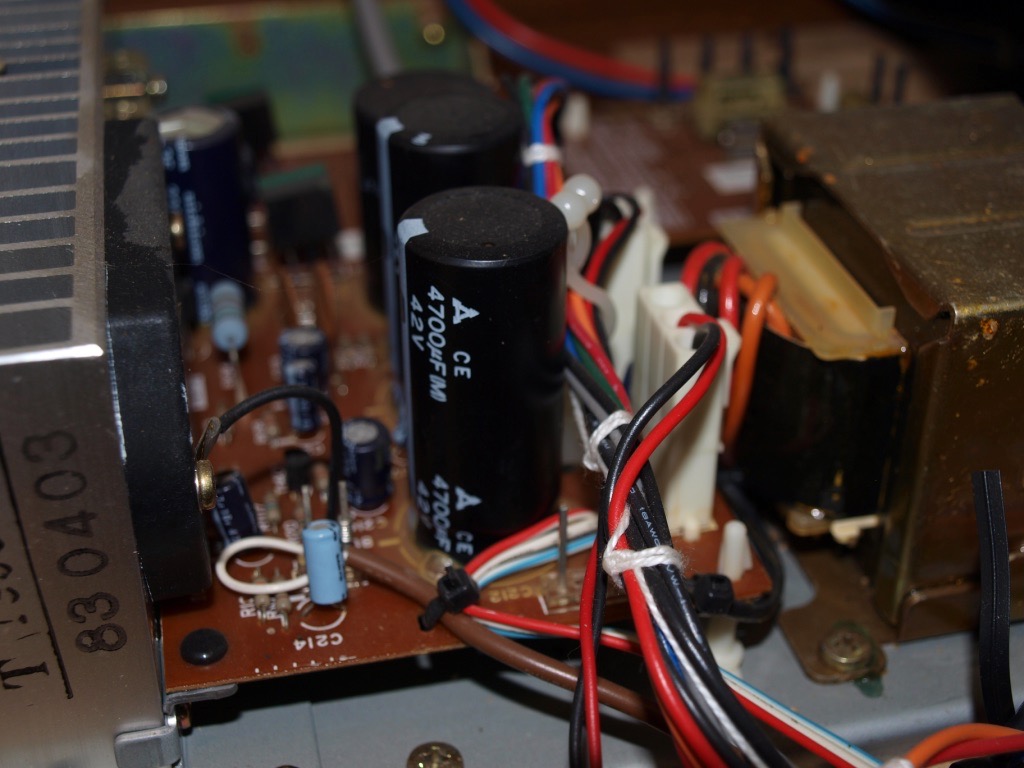
The power supply has some beefy capacitors and a big transformer, so I'm not going to touch any of that. Potential for high potential...
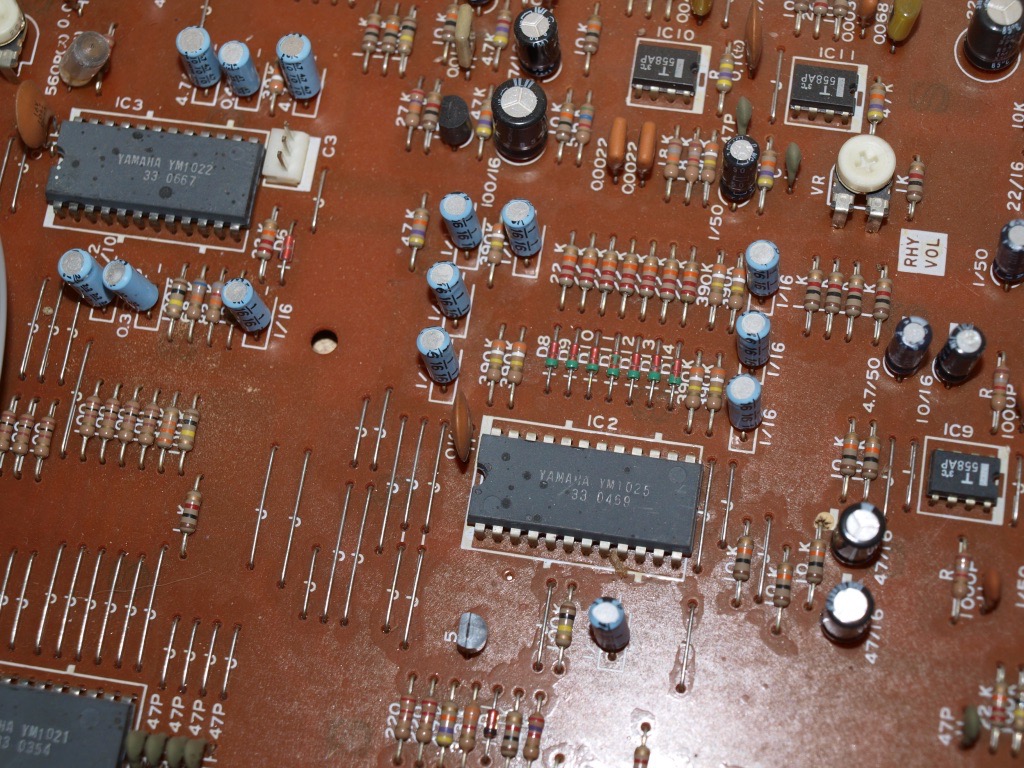
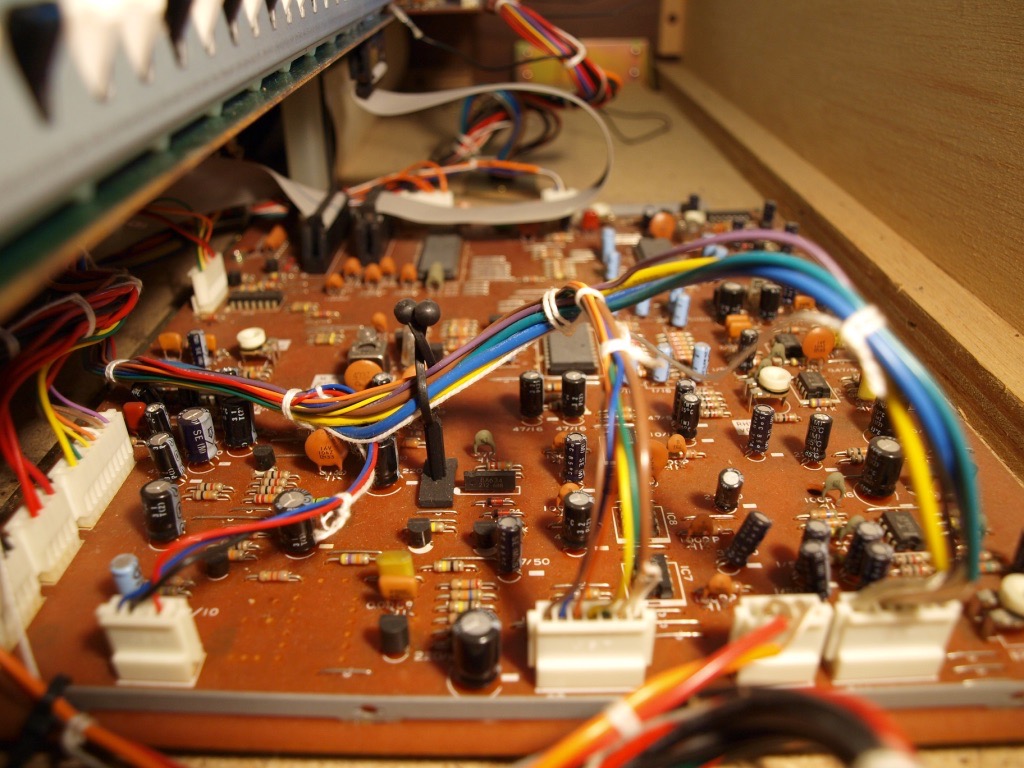
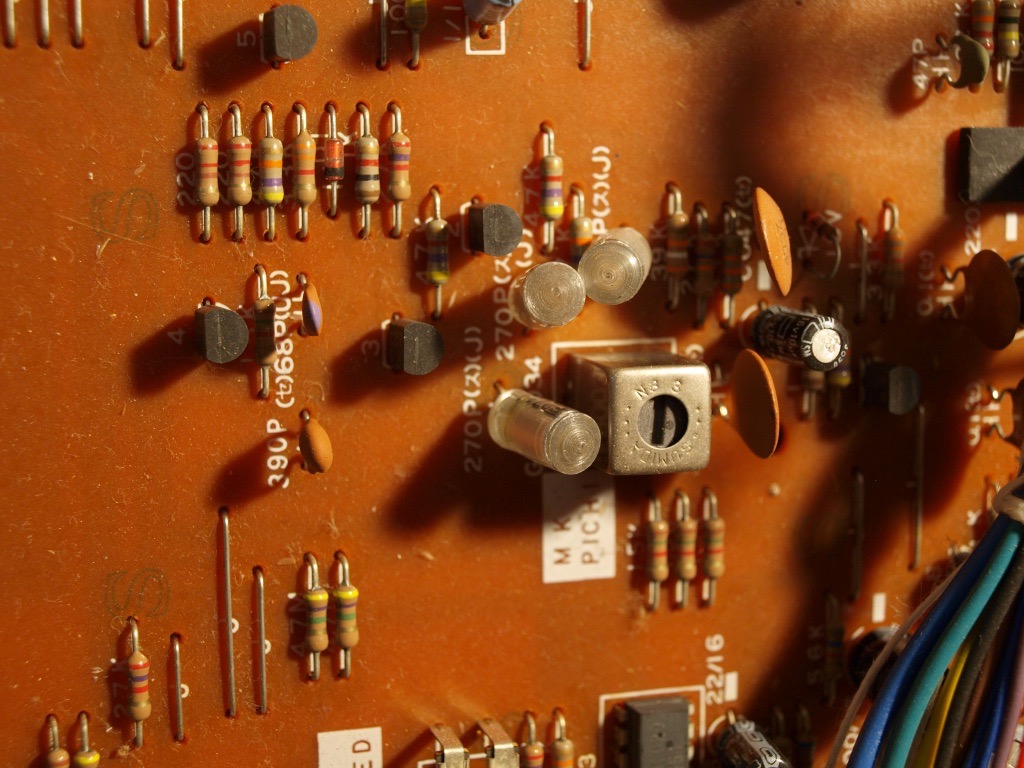
The main board has three Yamaha chips - YM1021, YM1022, YM1025. I'll have to do some research on them later, to see if there's any info available. There are also some other more generic looking op amps, a lot of resistors and capacitors, and some pretty looking glass capacitors.
The ribbon cables from the bass board, the lower and upper keyboards all end up here, as well as a bunch of wires from the smaller board.
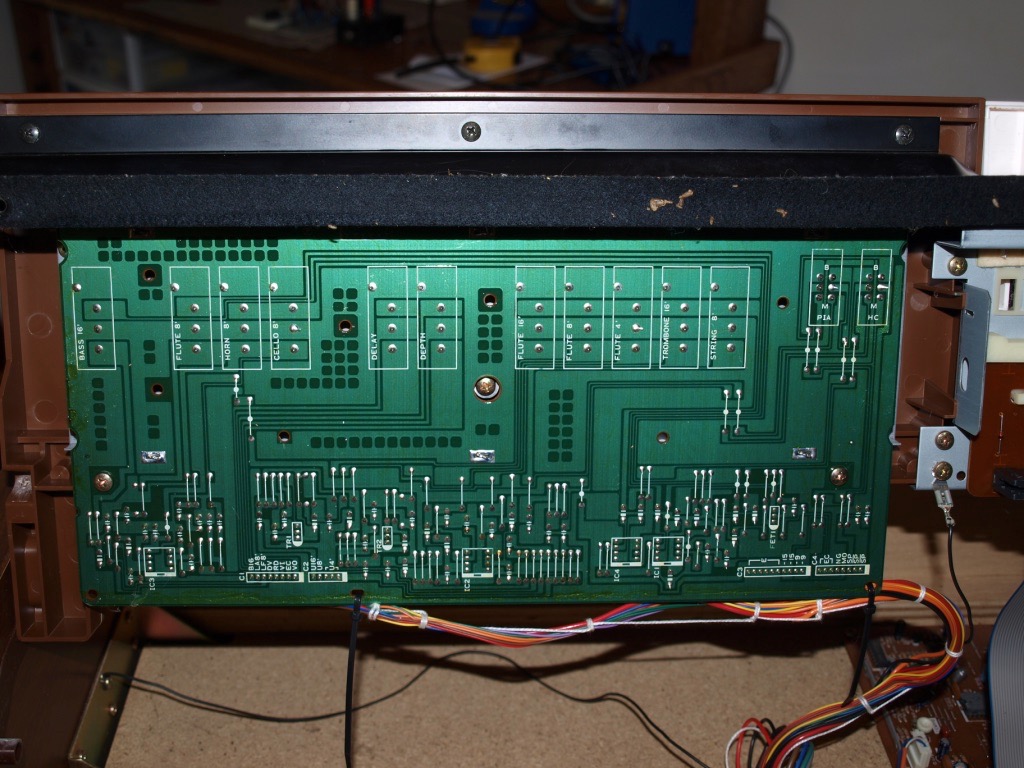
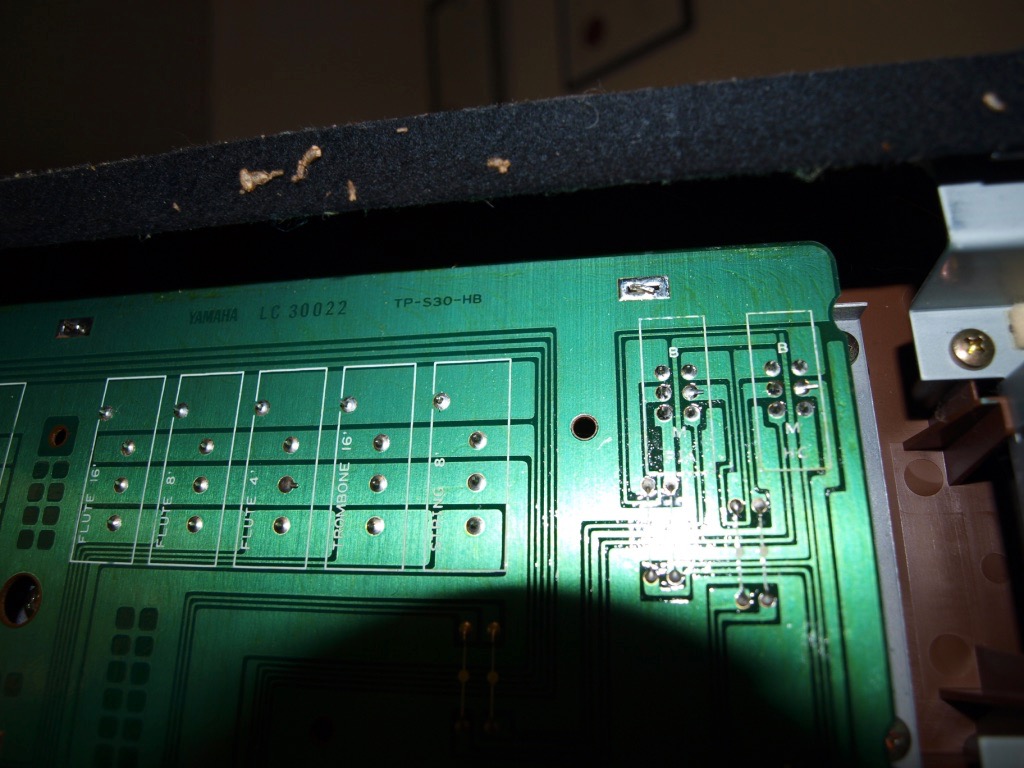
The smaller board has a heap of 4 way switches attached, and then some more discrete components and a heap of 4558 op-amps.
At this point I worked out that there are two more screws on the under side of the organ, which when removed allow the whole top keyboard section to rotate up out of the way. Very neat again!
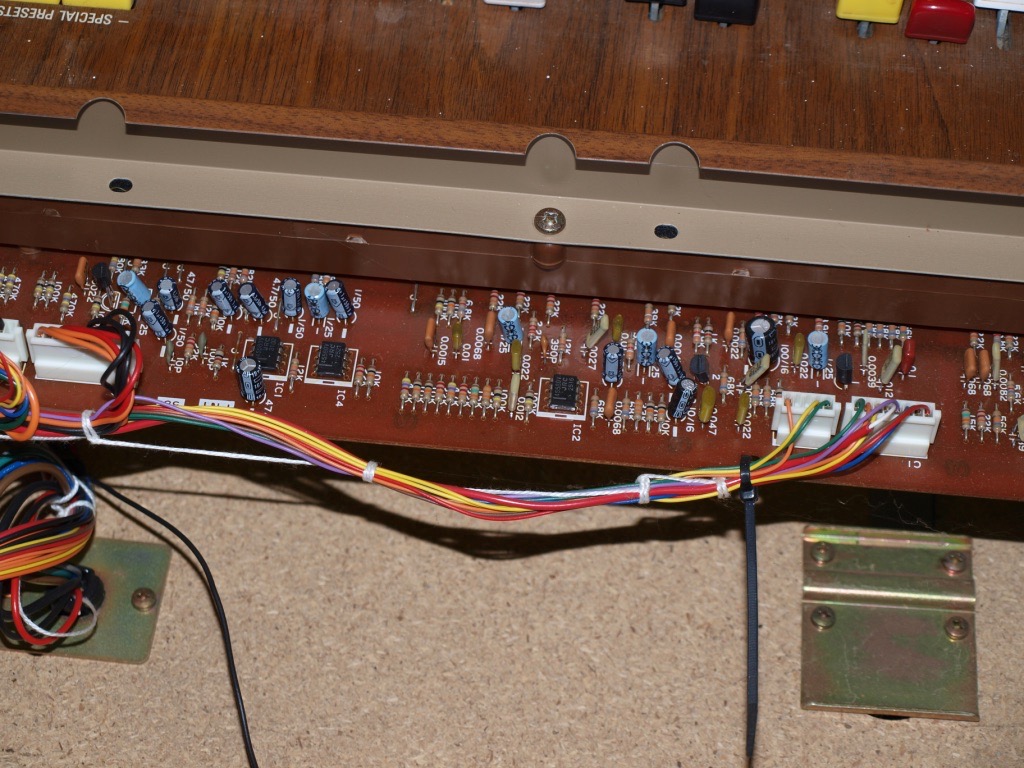
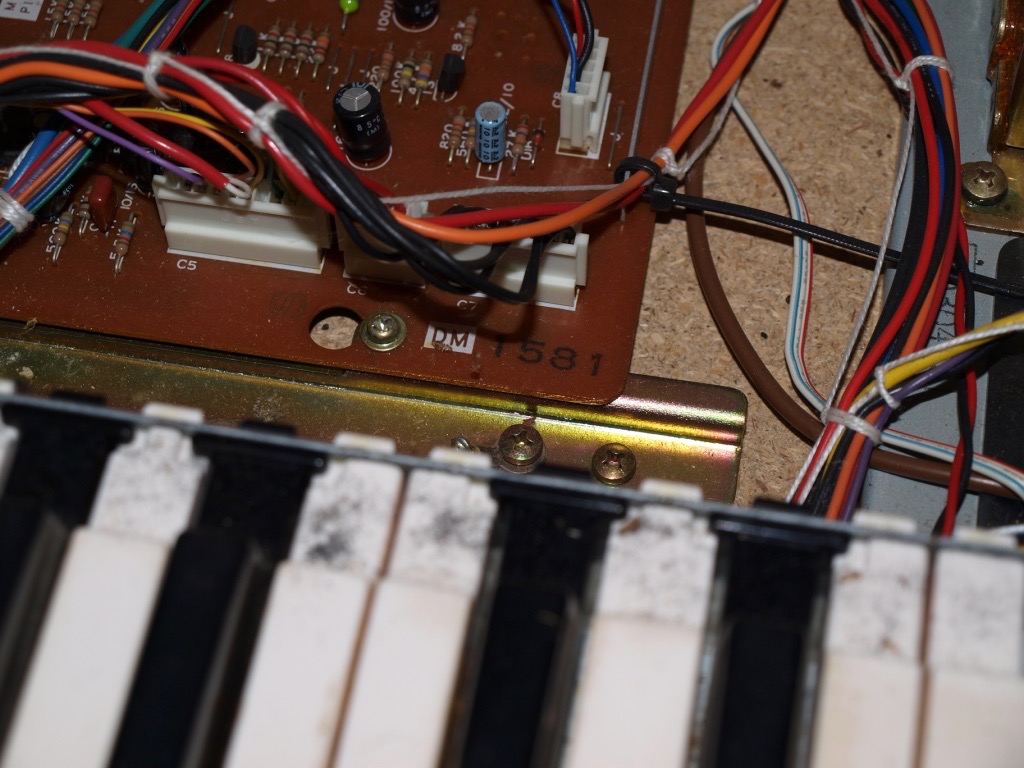
I can now get to the bottom of the smaller board (which actually turned out to be quite big, in the end), and I can also see the master volume pot which I need to replace. It seems to be a 10k pot, so should be easy to find a replacement. The date of manufacture is also visible on the main board now - the board seems to have been produced in the 15th week of 1981, at a guess.
So that's been a fun exploration. I didn't try to fix any more parts for now, but at least I know how to get into the guts.